

Beet Kvass is not a traditionally sweet drink. I've made it many-a-time with a salty brine and more savoury flavours (like garlic, chili or onion), and while the health benefits are out of this world, the taste simply is not. Traditional Kvass is something that I've made as a liver & immune tonic and as a source of probiotics, but not as an enjoyable, refreshing, fizzy drink. It has always been a chore to drink; more of a 'take a shot, wince a little and get on with your day' kind of drink. Until recently.

In the summer of 2017, I ran a series of fermentation workshops, with Beet Kvass finishing us off as the final session of the summer. Throughout that summer, I worked on improving my recipe, moving away slightly from the traditional method and creating a much more user-friendly drink. One that I actually crave, guzzle and long for when I've run out. It's been transformed from a salty, briny, savoury drink to a sweet, fruity, fizzy and refreshing beverage, resembling a kombucha. Both versions boast tremendous health benefits, with high amounts of probiotics, B vitamins, potassium, vitamin C, and nitric oxide (which helps to increase blood flow, lowering blood pressure and increasing energy). If you add fruit or herbs to your drink, the health benefits increase. Remember, fermentation increases the nutritional quality and bioavailability of the food. A Beet Kvass with blueberries and ginger (as you'll see below) will have a very high level of antioxidants, increased vitamins and minerals and digestive & inflammatory support.
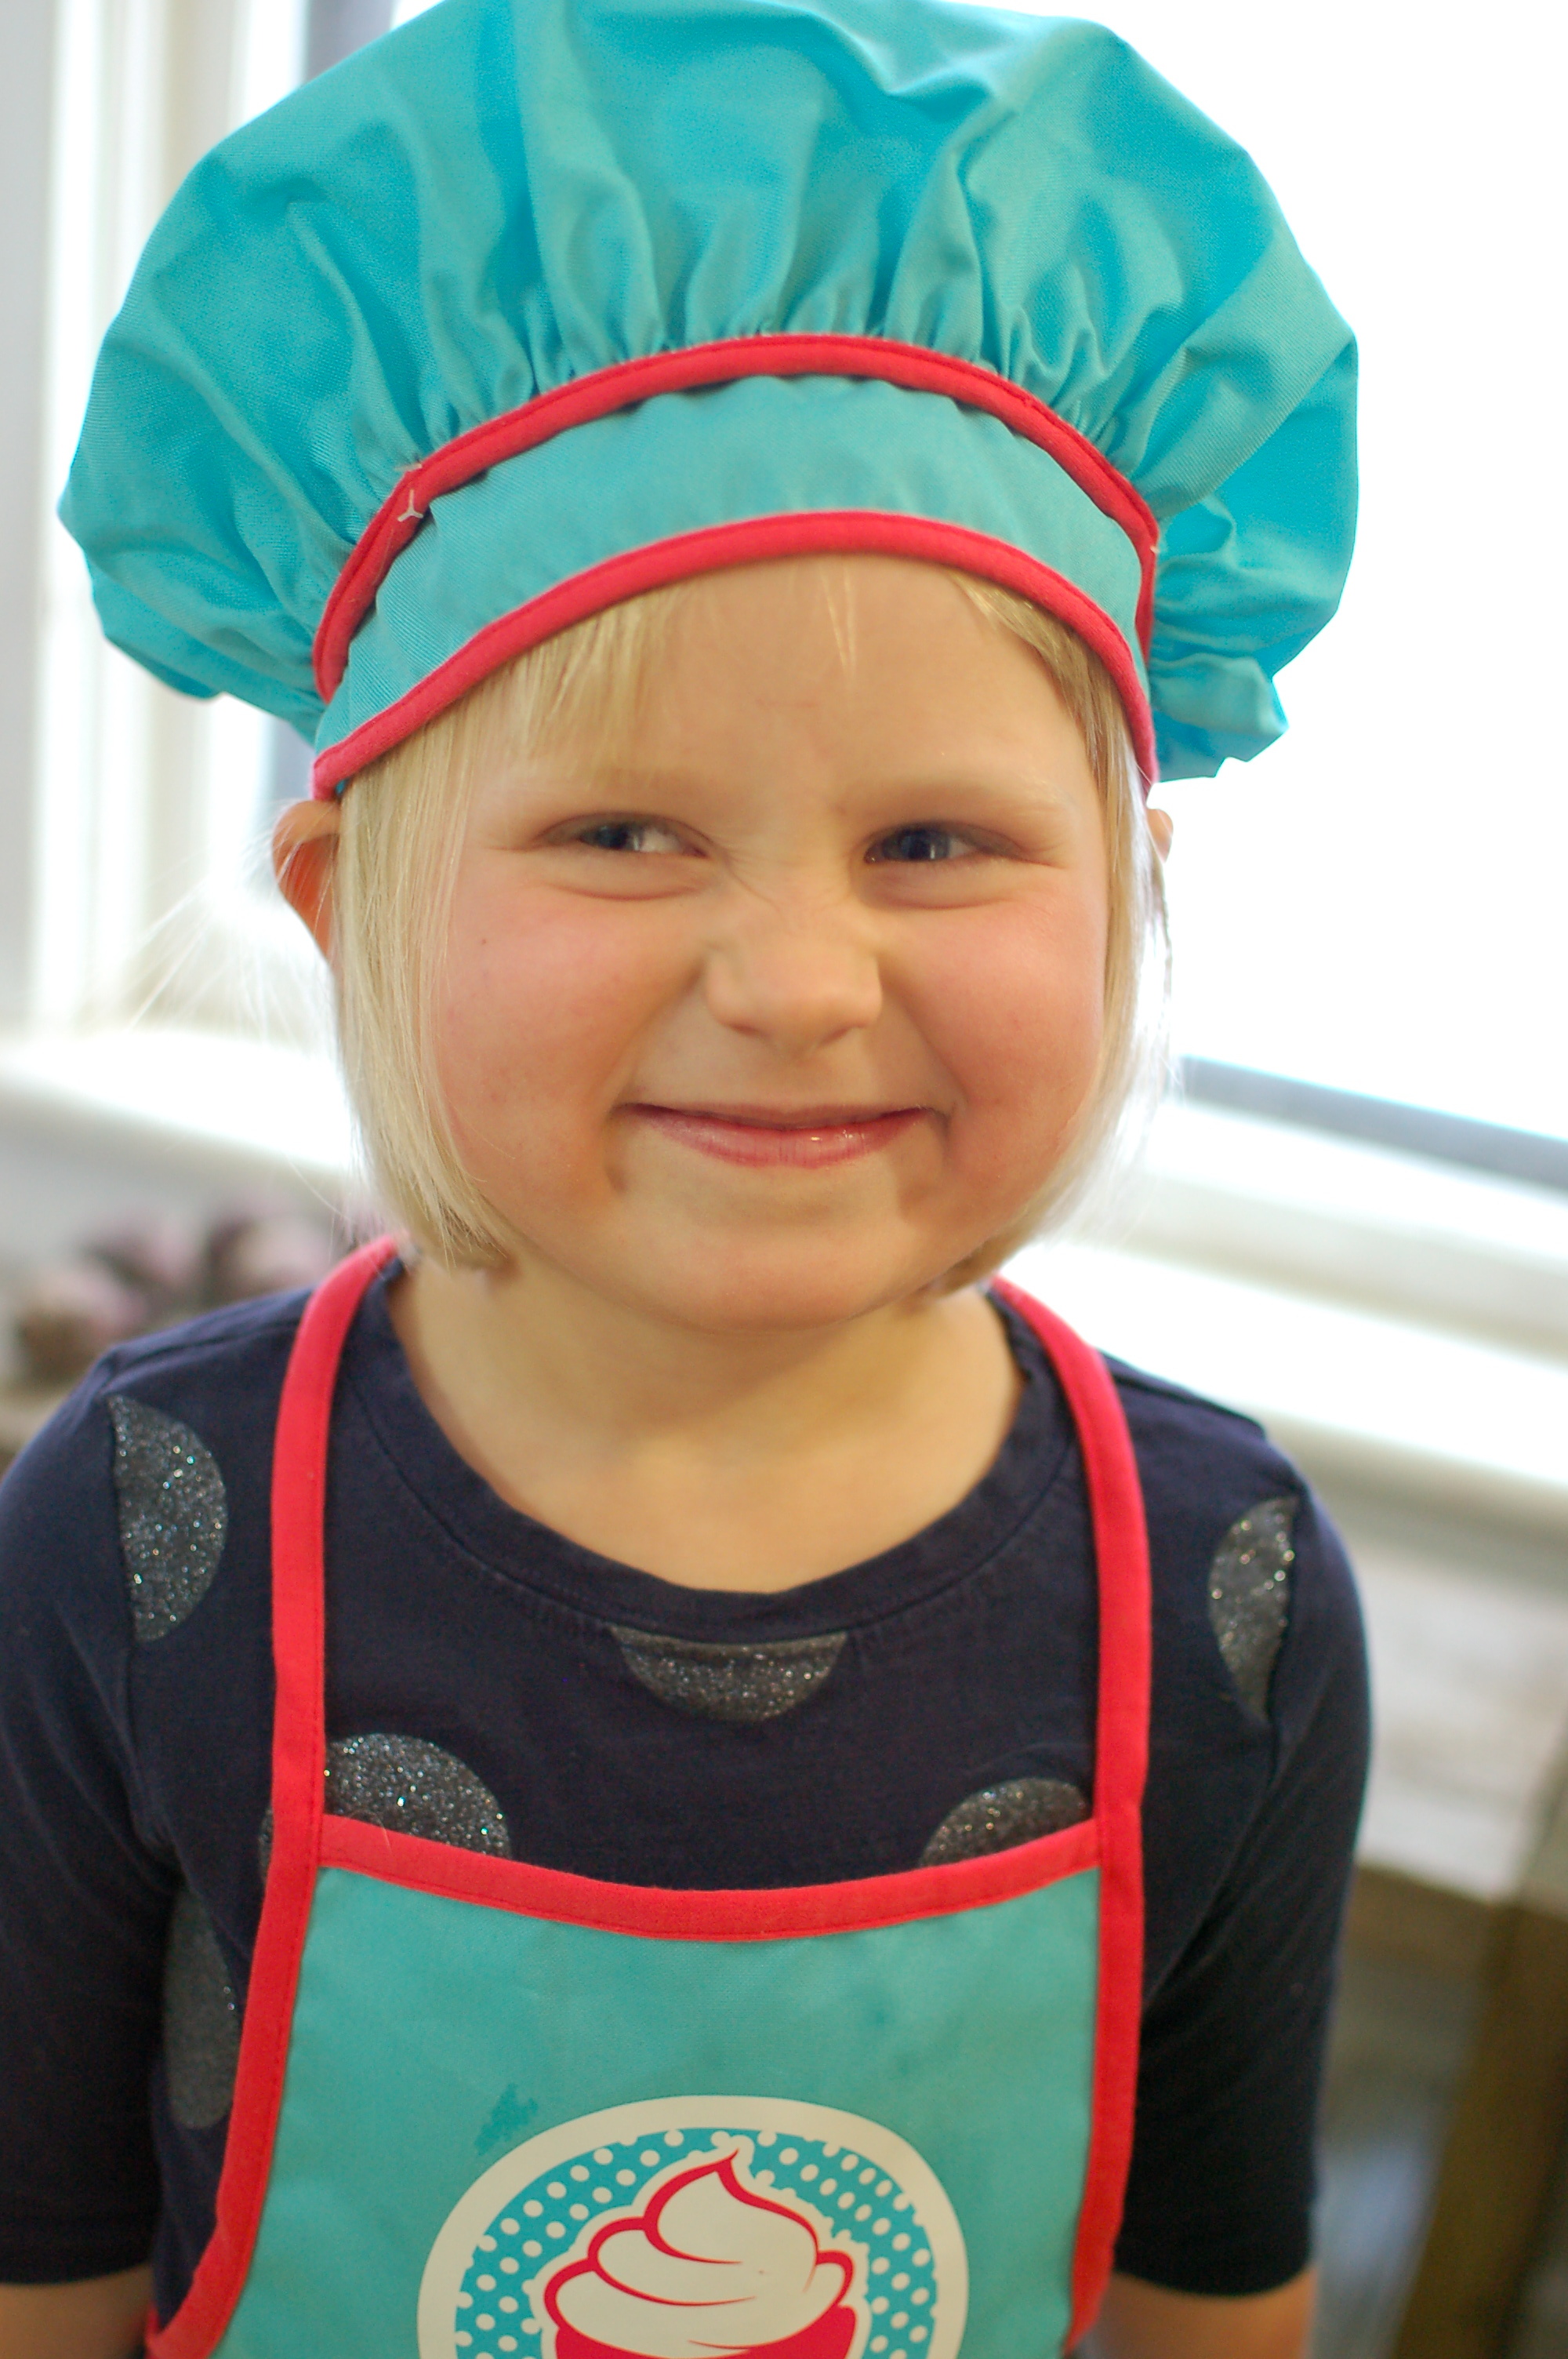
And, as with many fermented veggies, it's actually very easy to make. So easy, I've allowed this little peach to help me out.
Note: over the course of our summer fermentation workshops, we had a lot of kids join in with their parents. Vegetable fermentation is a great activity to do with kids, if they're interested. It's very cool to watch the jars bubble and to see the transformation of a simple cucumber or a pile of shredded cabbage to a completely different food with a wonderful flavour and texture. It's a great way for them to see how incredibly important bacteria is in both culinary application and our own health.
Now, Beet Kvass is a powerful drink for a child, so if they do help you and they do like it, start them out on small doses, just to make sure there's no significant GI disruption.

On with the HOW TO!
As long as you've got your beets and your brine, you've got the makings for a great kvass. It's up to you if you want to experiment with flavours. I love experimenting with flavours and one of my favourites is the above combo: beets + blueberries + lemons + ginger. Because it's winter and there aren't any great fresh blueberries out there, we've gone with frozen, and believe it or not, they work beautifully!
Start off by prepping your brine:


Rather than the super salty brine that I originally used, we're making a honey brine. For 1L of kvass, use 1 cup spring or distilled water + 1 tsp sea salt + 1 tbsp raw honey. We're filling 3 1L jars, so we've tripled that recipe. Combine all ingredients in a measuring cup or mixing bowl and give it a quick stir. Don't worry if the honey doesn't dissolve right away, just set it aside and get on with recipe.

Peel & chop your beets about yay big and prep the rest of your fruits & veg, if using.
Get creative! You can use a bit of citrus juice, fresh herbs, berries, pineapple or melon rind.
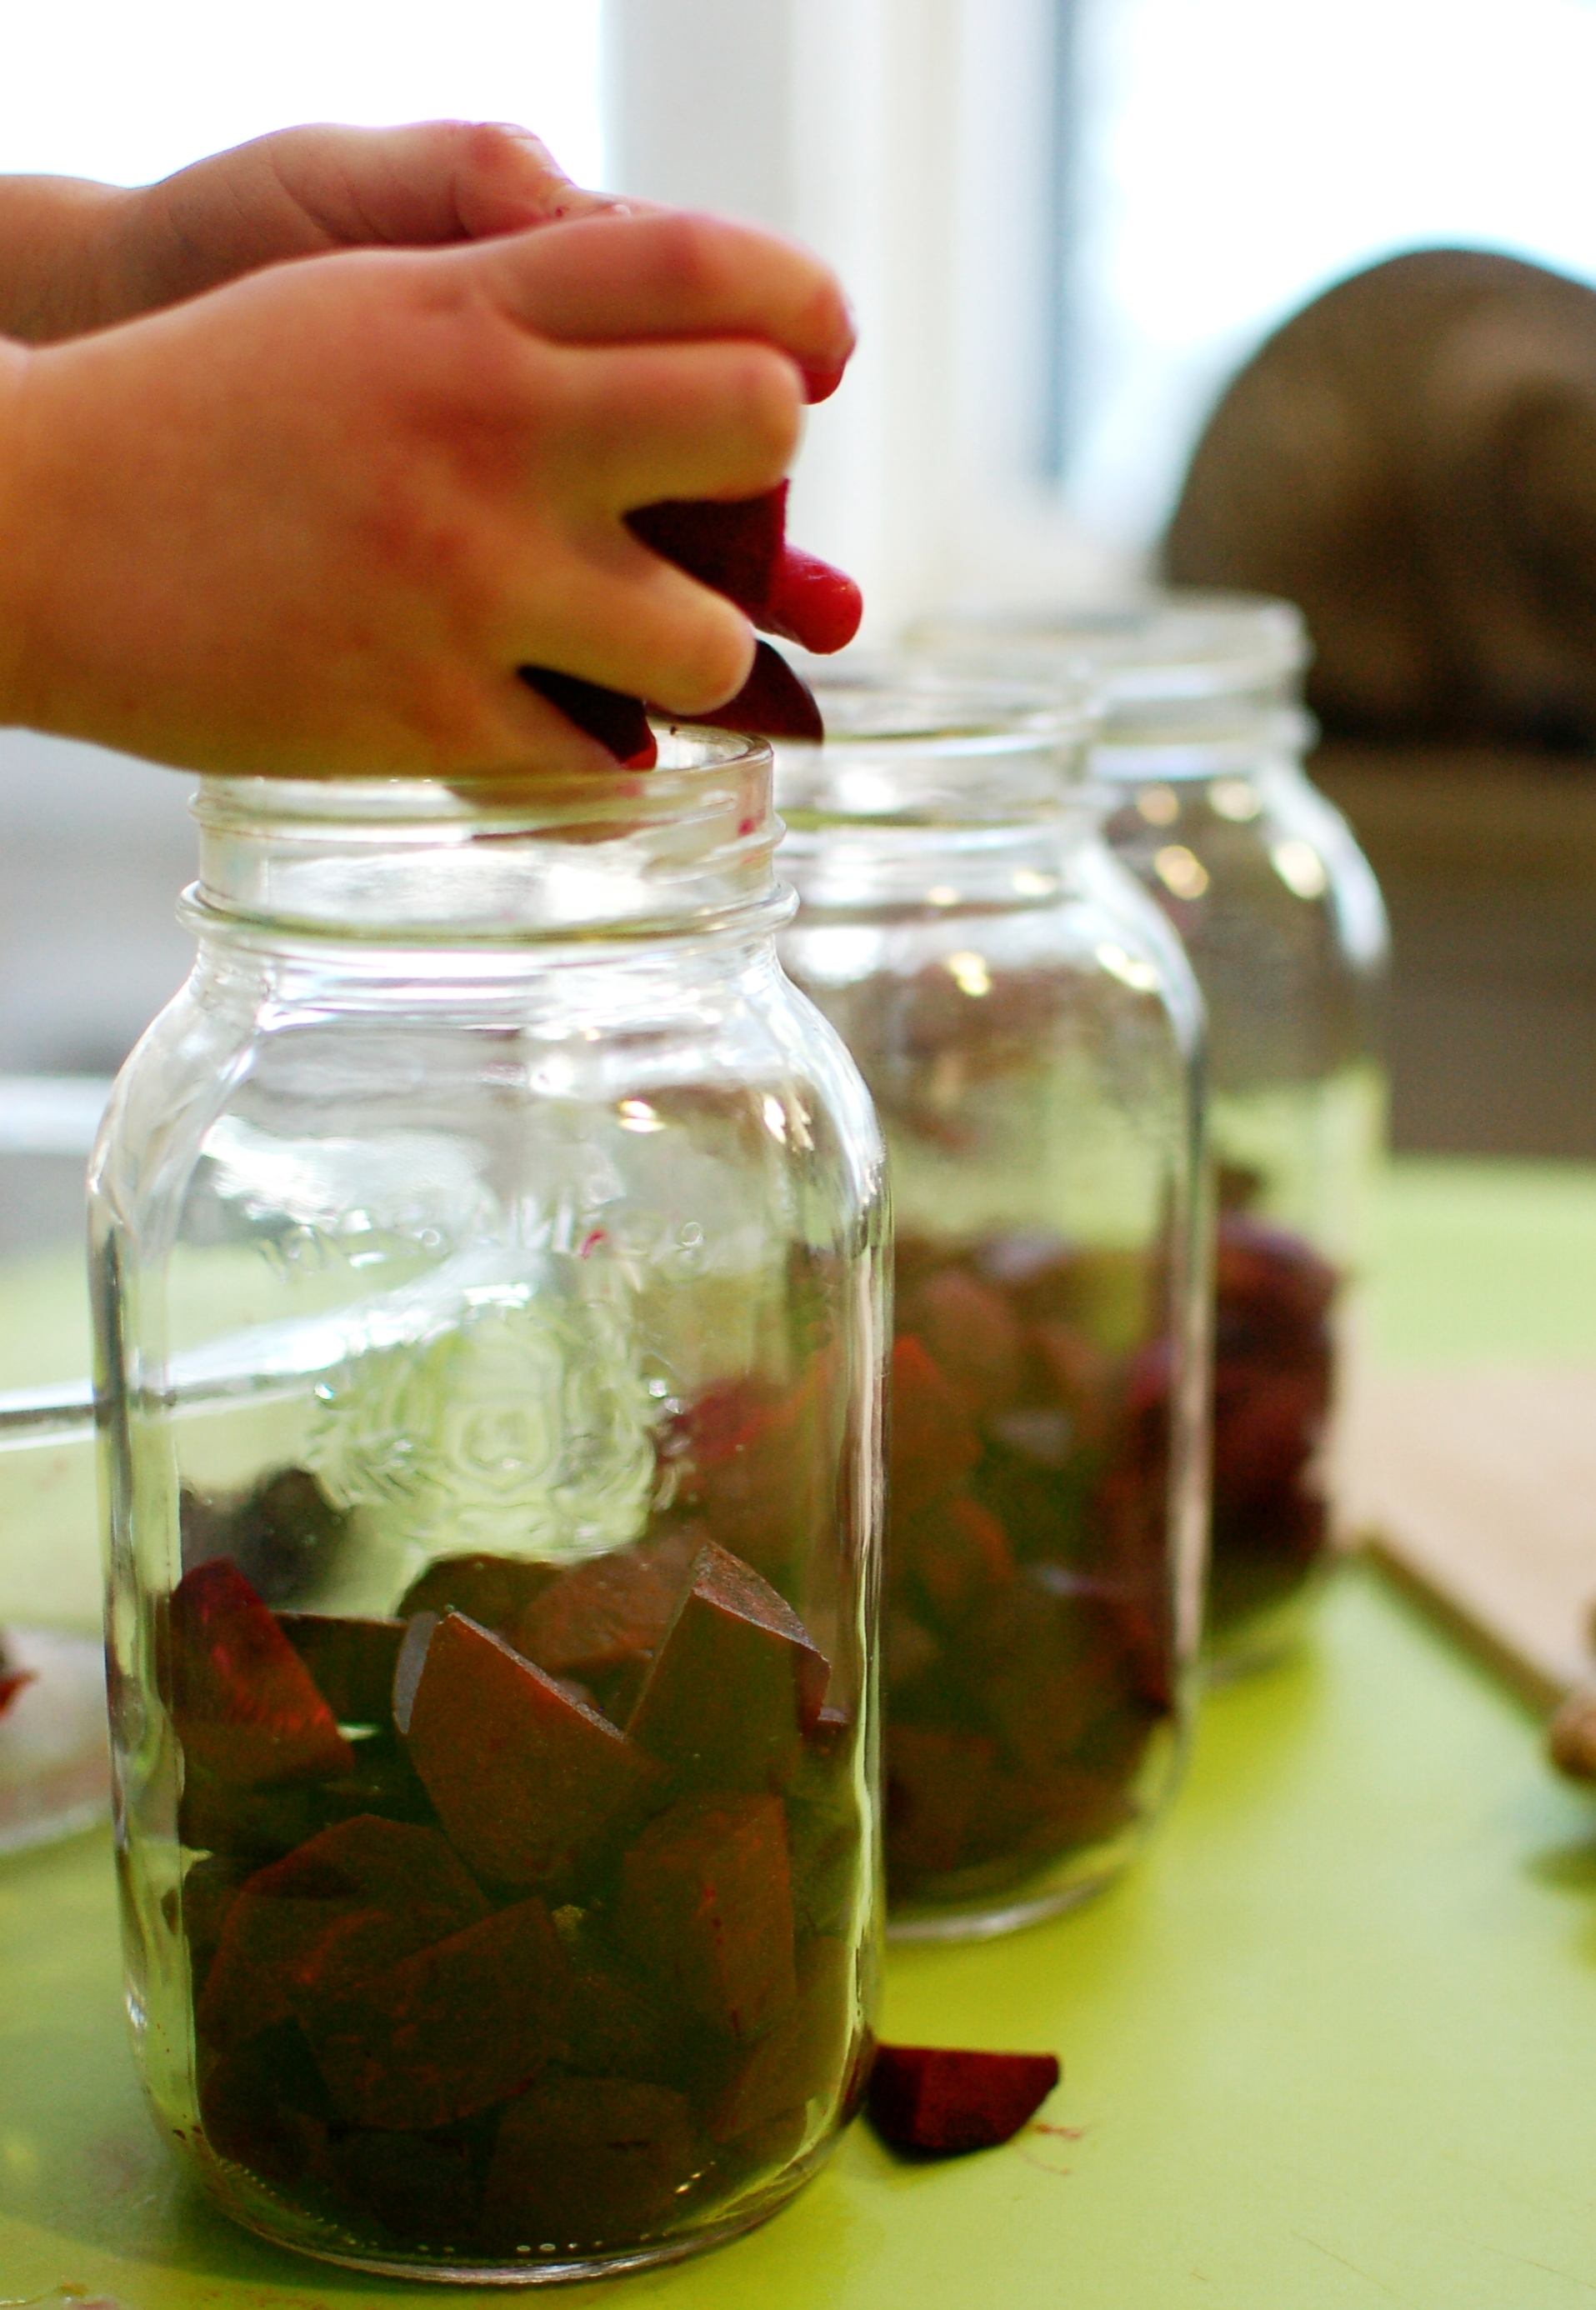
Fill your 1L jars about 1/3 of the way with beets (2 - 3 small beets/jar).
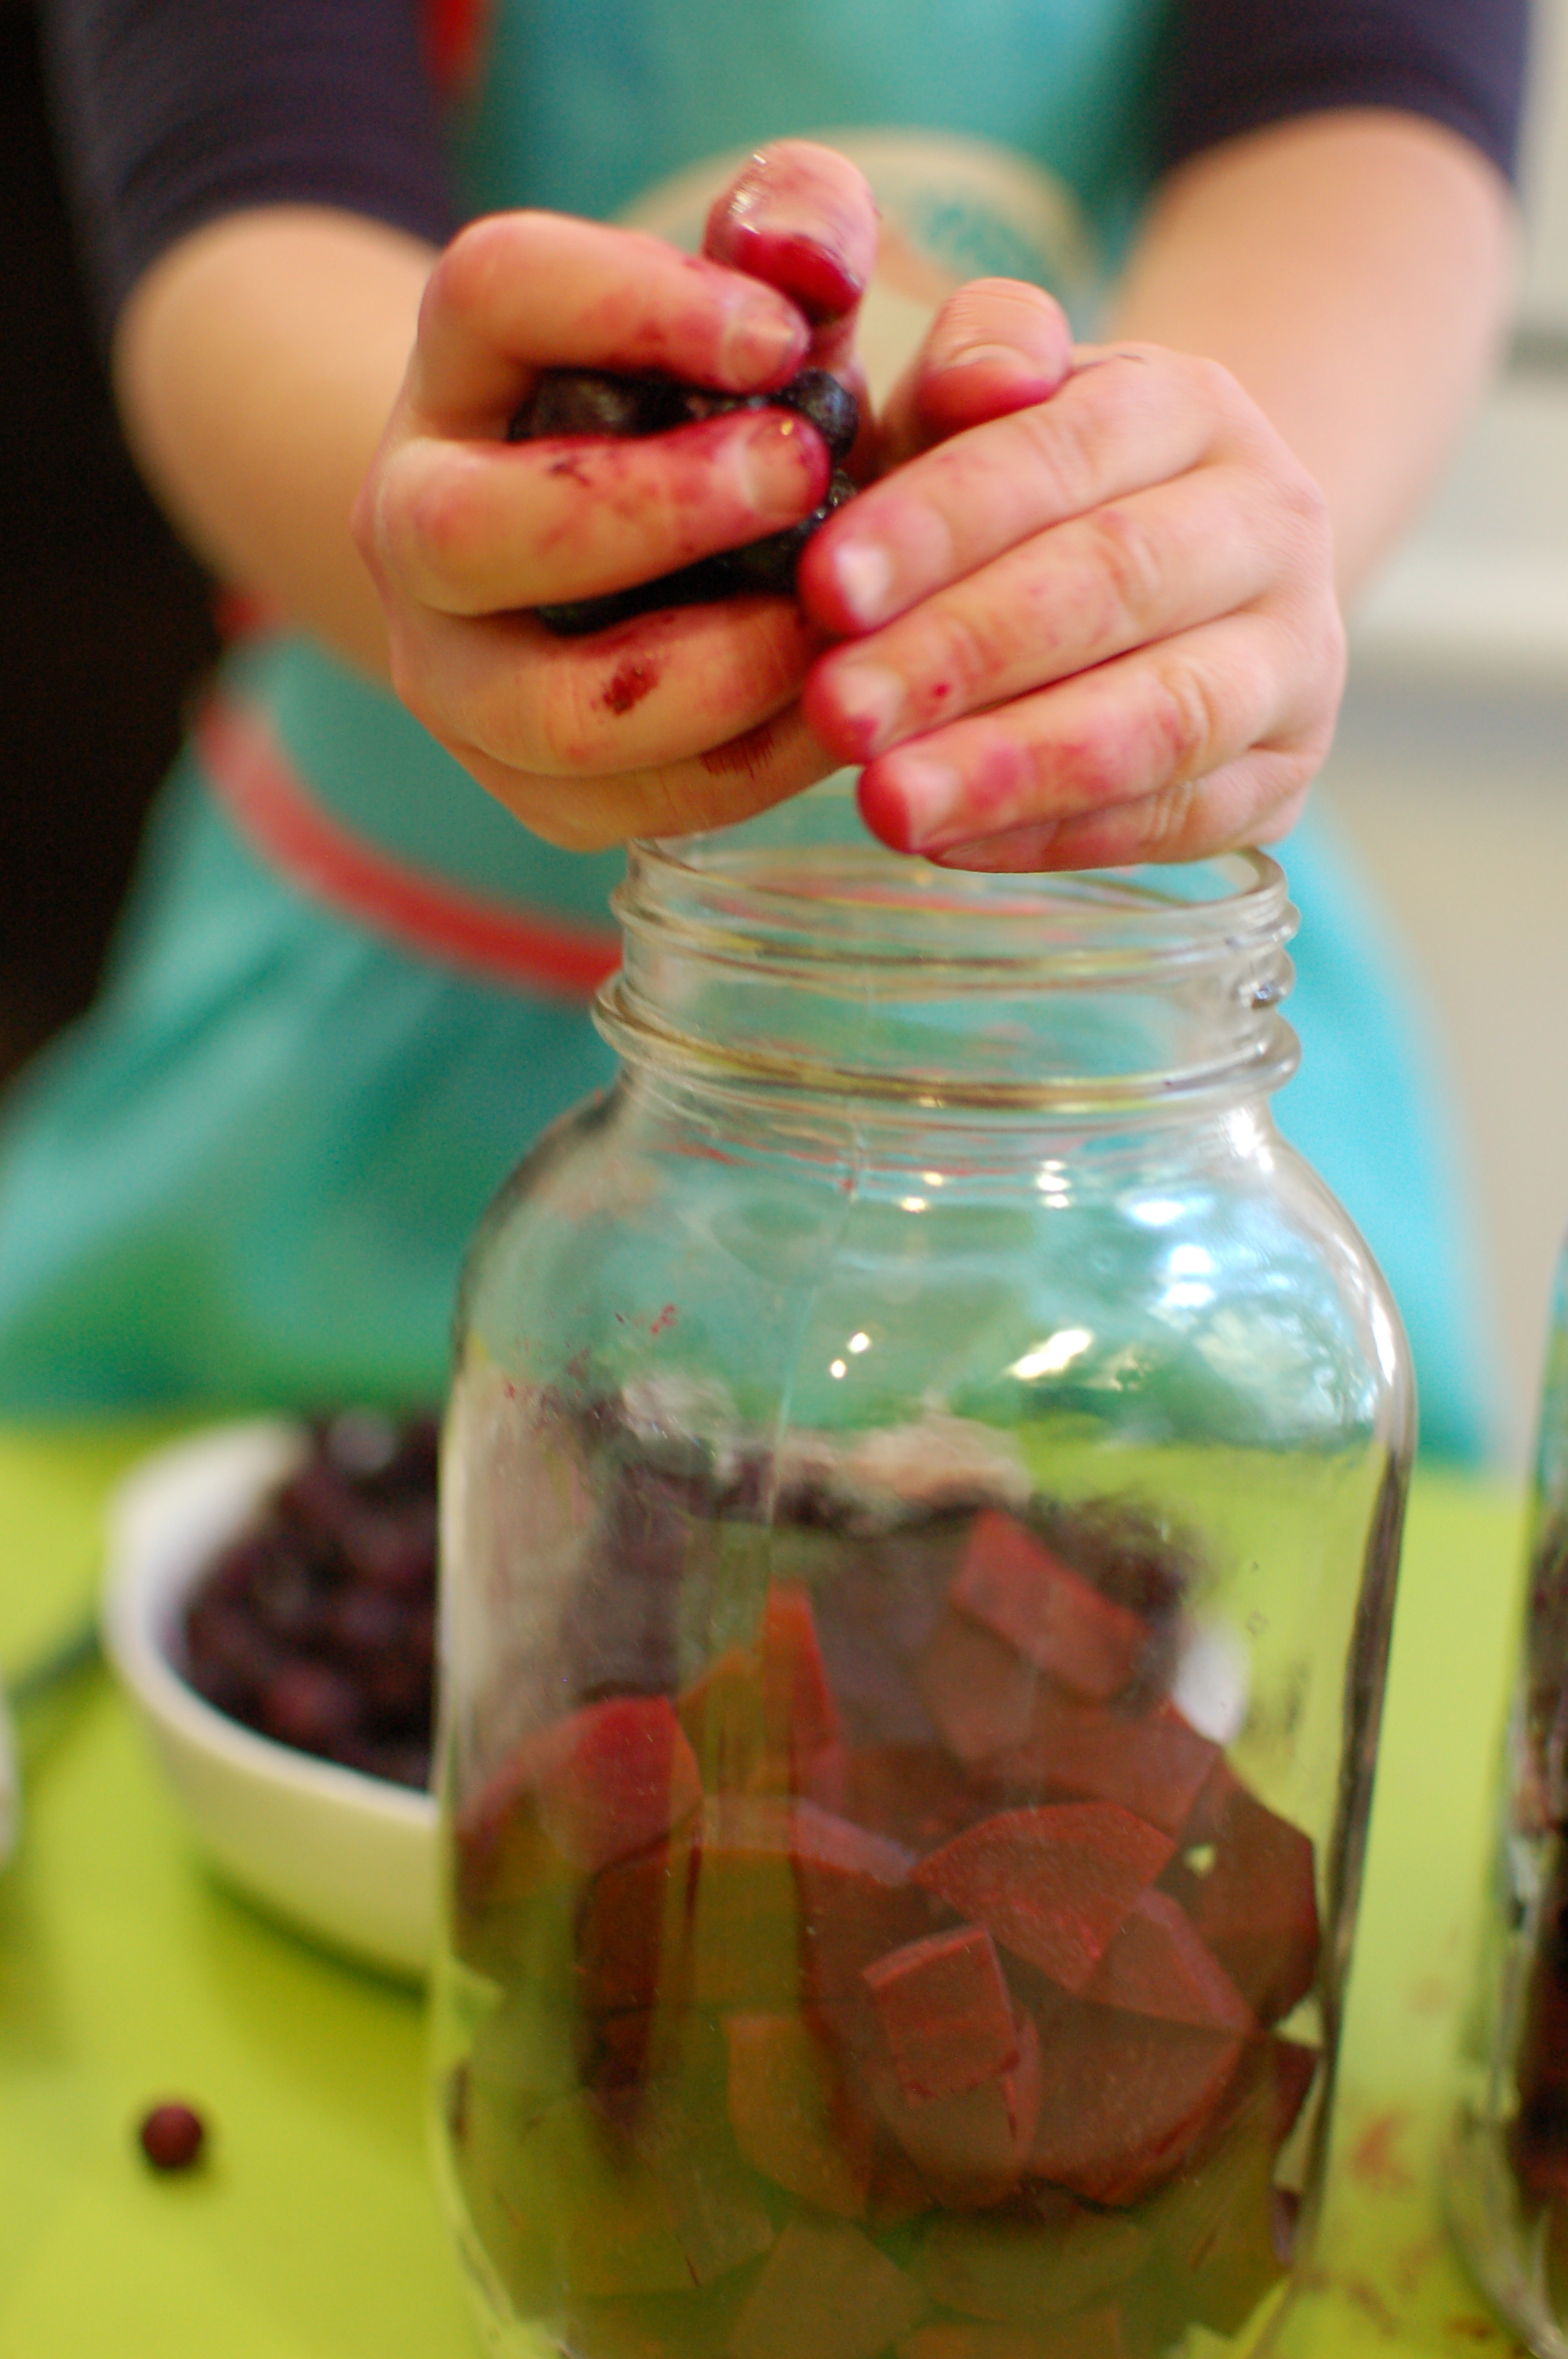
Throw in a handful or two of blueberries (maybe 1/3 cup/jar).

We juiced our lemons to make about 2 tbsp of juice for each jar. We're going to roughly chop the ginger and throw it in. For a more intense ginger flavour, you can shred or juice it instead. Notice that the jars are not filled up all the way. This is exactly what we want. They should be just a pinch over the half way mark. While the contents of those jar will be totally edible, it's the liquid we're after!

The honey should be just about dissolved now. Give it one more good stir and pour away. 1 cup of brine per 1L jar.


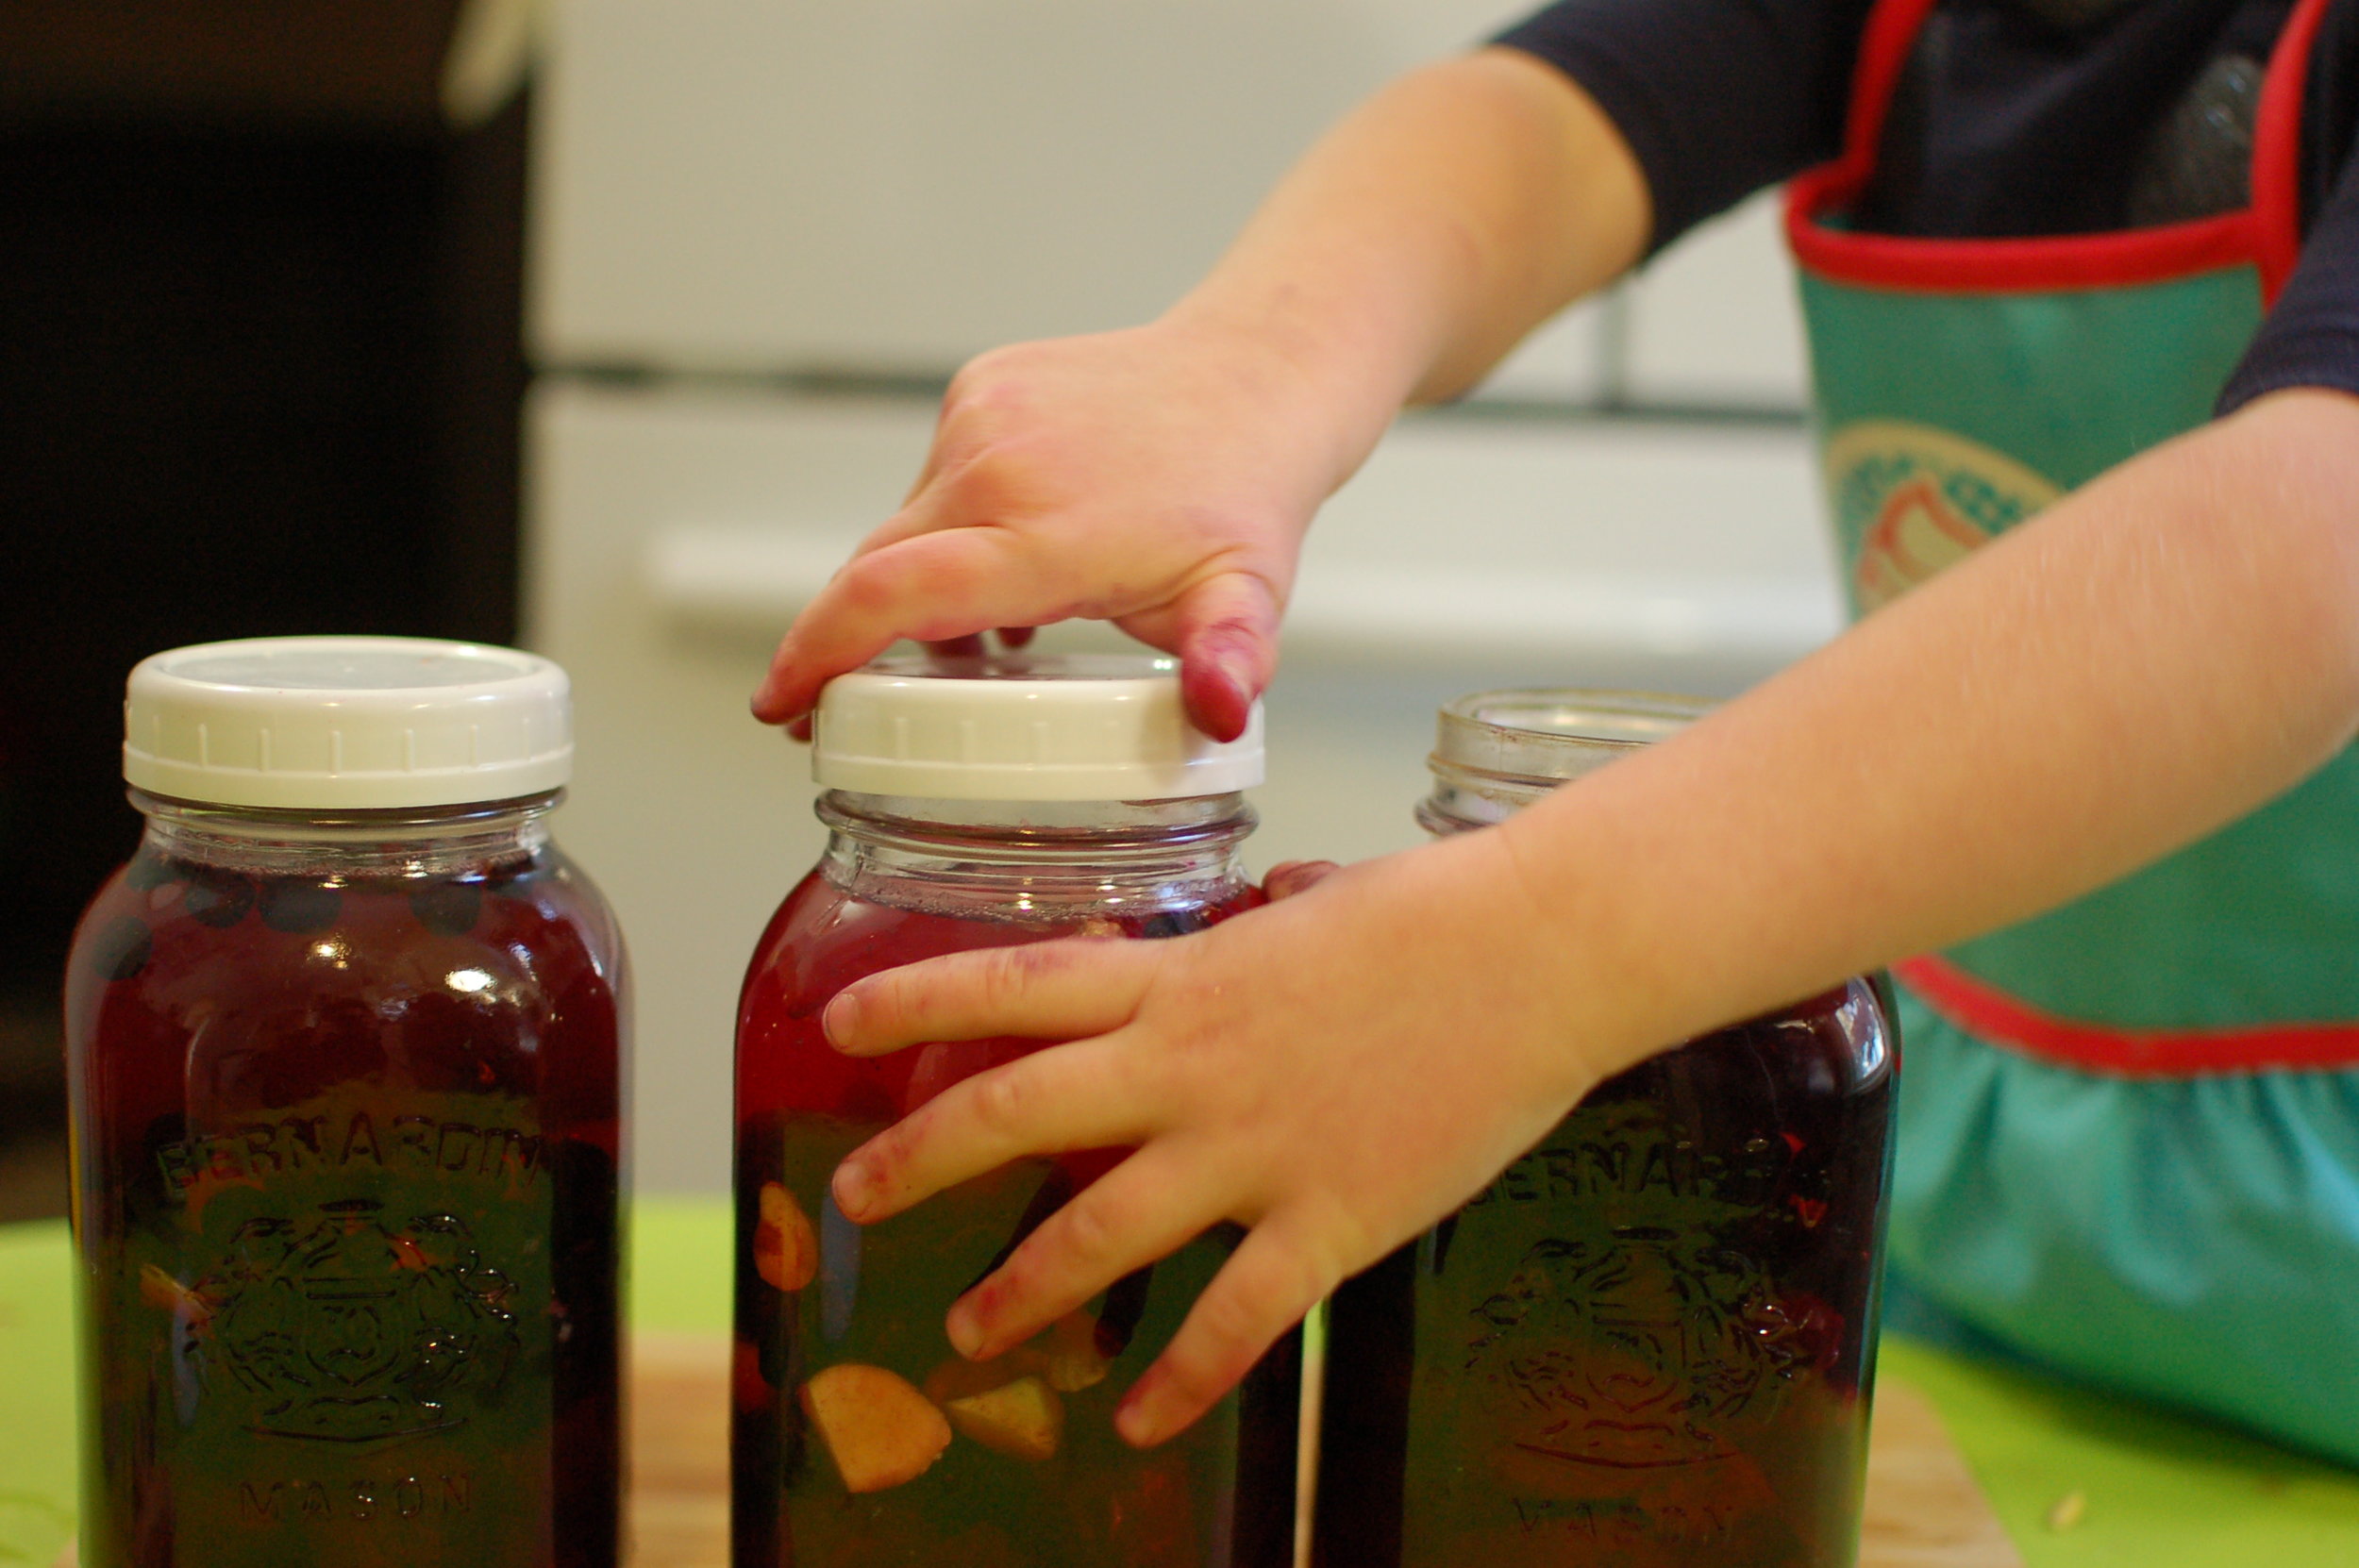
The brine will only fill the jars about half way. Fill each jar the rest of the way (to the rim) with fresh spring or distilled water. Attach the lid and give the jars a little shake.

Allow the kvass to ferment for 3 - 7 days, burping daily. We made ours in the middle of an extreme cold weather alert, so they took a full 7 days. I find that in the middle of summer, they're super active and are bubbling over by day two and ready to be bottled by day three. It's up to you and the conditions that surround you.
The Second Ferment

Now, this step isn't absolutely necessary, but for me, it's vital. It's the step that increases the depth of flavour, improves the fizziness and gives it that true kombucha/soda vibe.
The second ferment involves a few things:
- The separation of the brine from veg
- A change of fermenting vessel -we go from a 1L mason jar to a flip-top bottle
- The optional addition of even more flavours (in our case, ginger juice and mashed blueberries)
- A bit more time - this step usually take 6 - 18 hours
Tip: If you've decided that you're kvass is finished fermenting, but don't have time to bottle it and carry on with the second ferment, just pop the jars in the fridge until you're ready. Take your time and don't stress. These babies will stay preserved in the fridge for as long as you need. Simply bringing them back to room temp when you're ready for the second ferment will get the bacteria moving again. I very often do this.

Start by separating the brine from the beets. Do this over a large mixing bowl.

The best way to make fresh ginger juice is to simply press it in a good sturdy garlic press (this can be a tough job for a little one, however).

Add the fresh ginger juice to the mixing bowl. We've juiced enough for about 2tsp/bottle.

Mash the blueberries and add them to the bottles, about 1 tbsp/bottle.
Note: We were able to fill 3 1/2 500ml flip top bottles from 3L of fermented beets + brine.
Also, you can pick up those awesome bottles from any home brewing store, or do what I did and order them online.

Using a funnel, pour the kvass with added ginger juice (or which ever flavour you've added) into the bottles.
Leave a bit of room at the top of each bottle. If you find that (like us, but not pictured), you've got a bottle that's only filled half way, don't stress it. Let it do it's thing just like the rest. It will still get fizzy and delicious.
Let these guys ferment for 6 - 18 hours, opening the caps periodically to release the build up of CO2. If you find that they're super active after only a few hours, go ahead and pop them in the fridge. If you find that they aren't doing much, just leave them out until they start getting fizzy. It varies with each batch (and time of year!).
Note: I've been sprayed with kvass and have had a big, fizzy mess on my kitchen floor while burping my bottles at this stage. Do yourself a favour and do it over the sink!
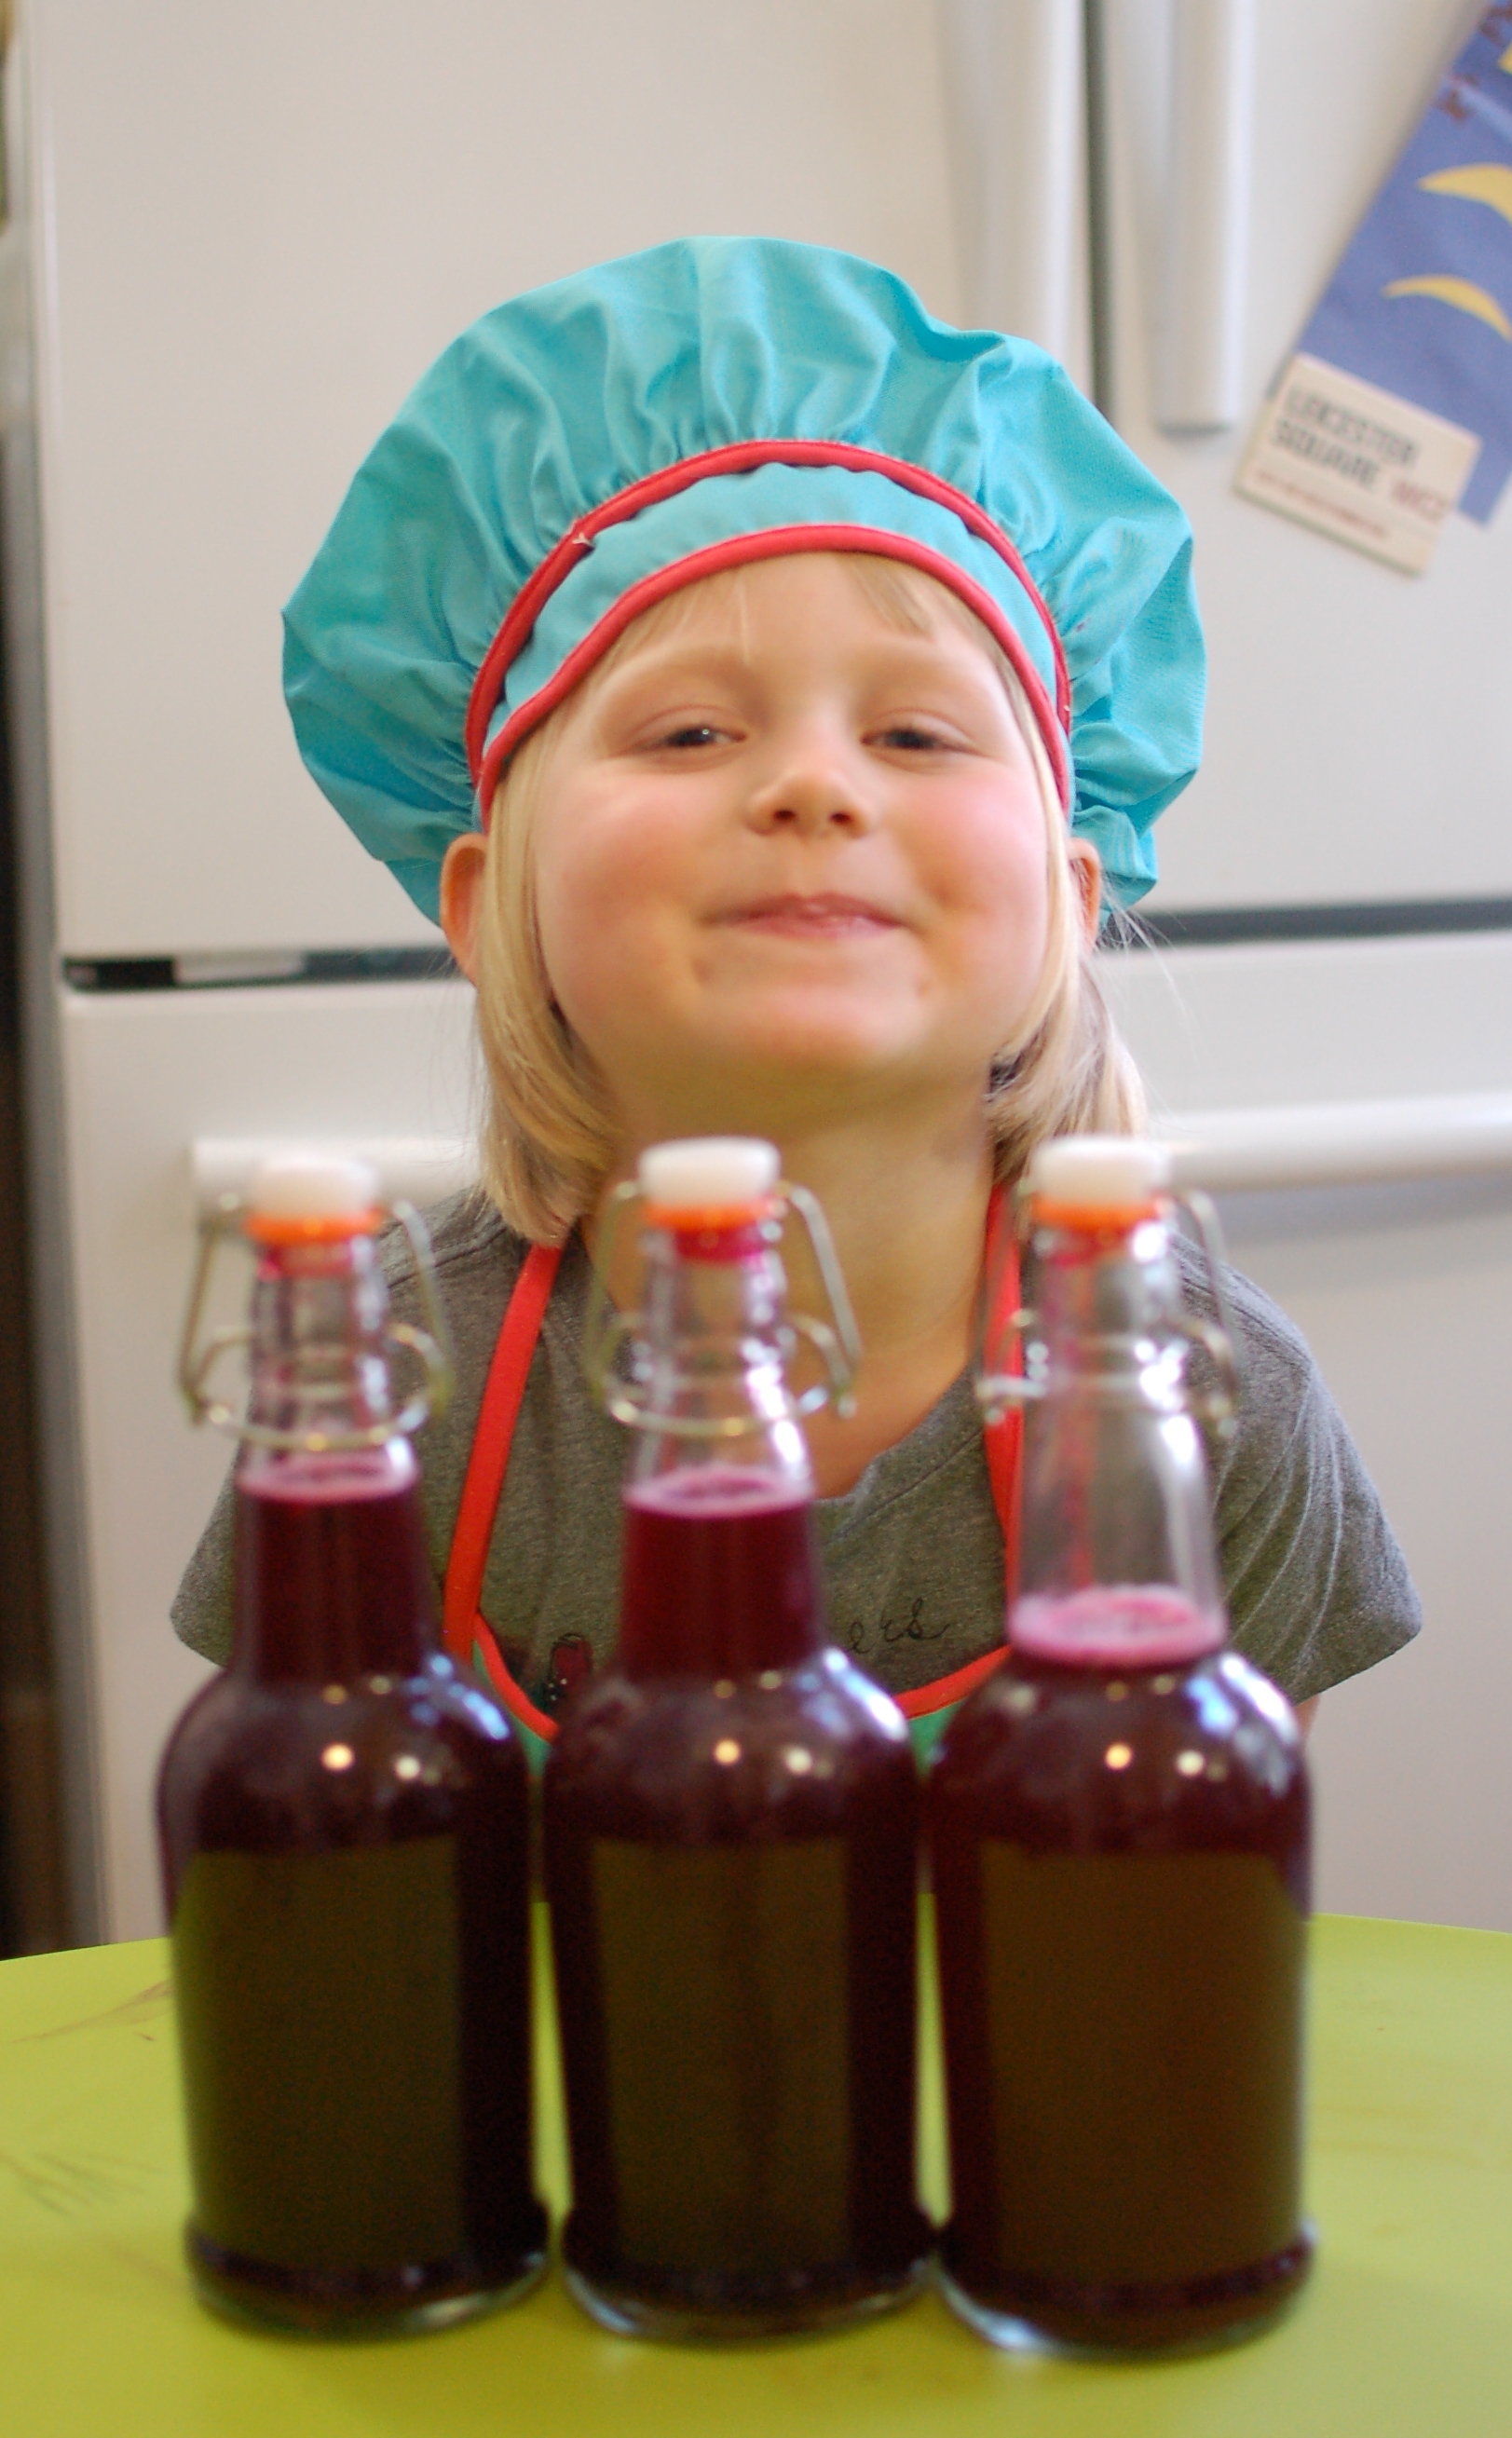
Finished!

Allow your beet kvass to chill for at least a day before digging in. It will continue to very slowly ferment while it's in the fridge, so the longer you leave it, the more active it will be. The one pictured here had been in the fridge for one week.

And as we released the cap, it fizzed right up!

A wonderful success!

Remember, if this is your first time drinking Beet Kvass, start slow. Go with about half of what we've got in our glasses, as it's absolutely FULL of wonderful beneficial bacteria and enzymes and could cause a bit of GI distress if you're not accustomed.

This is a lovely, refreshing and VERY delicious take on a traditional, nutritious drink.

Enjoy!


