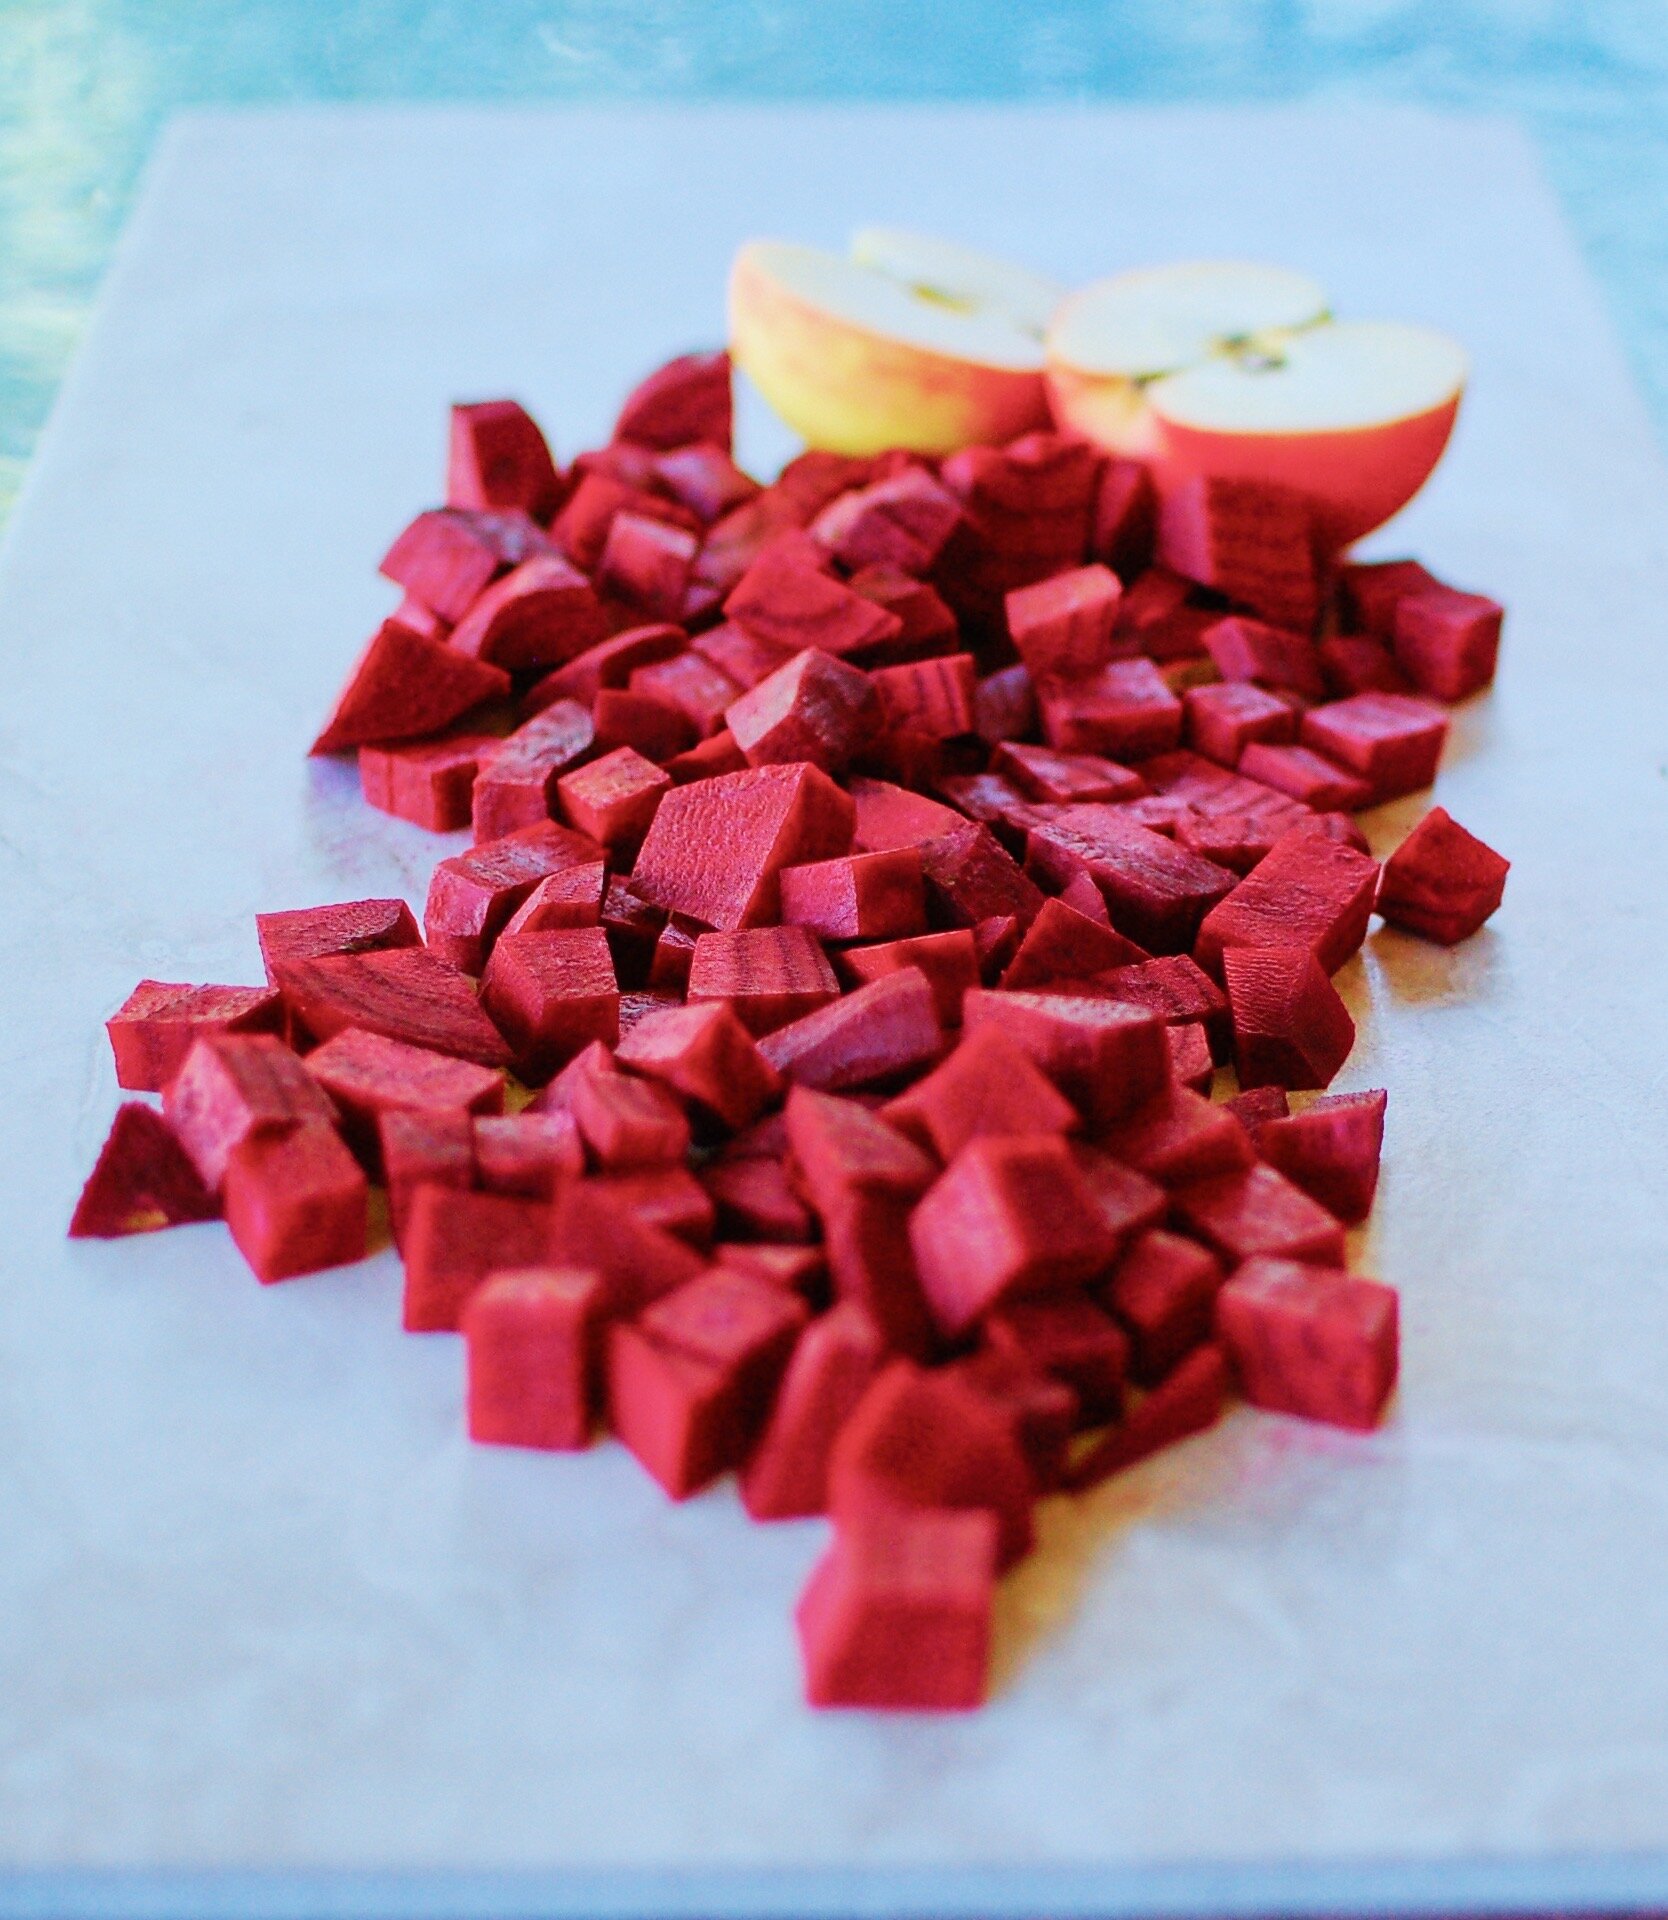
Let’s hear it for fermented beets! Tart, sweet & savoury and absolutely packed with nutrition, these beets are amazing over greens, tucked into a burger, or enjoyed with a lovely piece of fish. Enjoy them cubed (as I’ve shown in this recipe), thinly sliced or, if you’ve got a spiral slicer, spiralized!
This recipe utilizes an incredibly handy ginger bug that is commonly used to make Fermented Ginger Ale, and while it’s not absolutely necessary, it will pretty much guarantee a perfectly fermented product with an amazing, subtle ginger flavour.
Ginger Bug. Use mostly the solids, leaving much of the liquid behind.
Fermented Ginger Beets
Makes a 1L jar
about 2 - 3 large beets, peeled and cubed
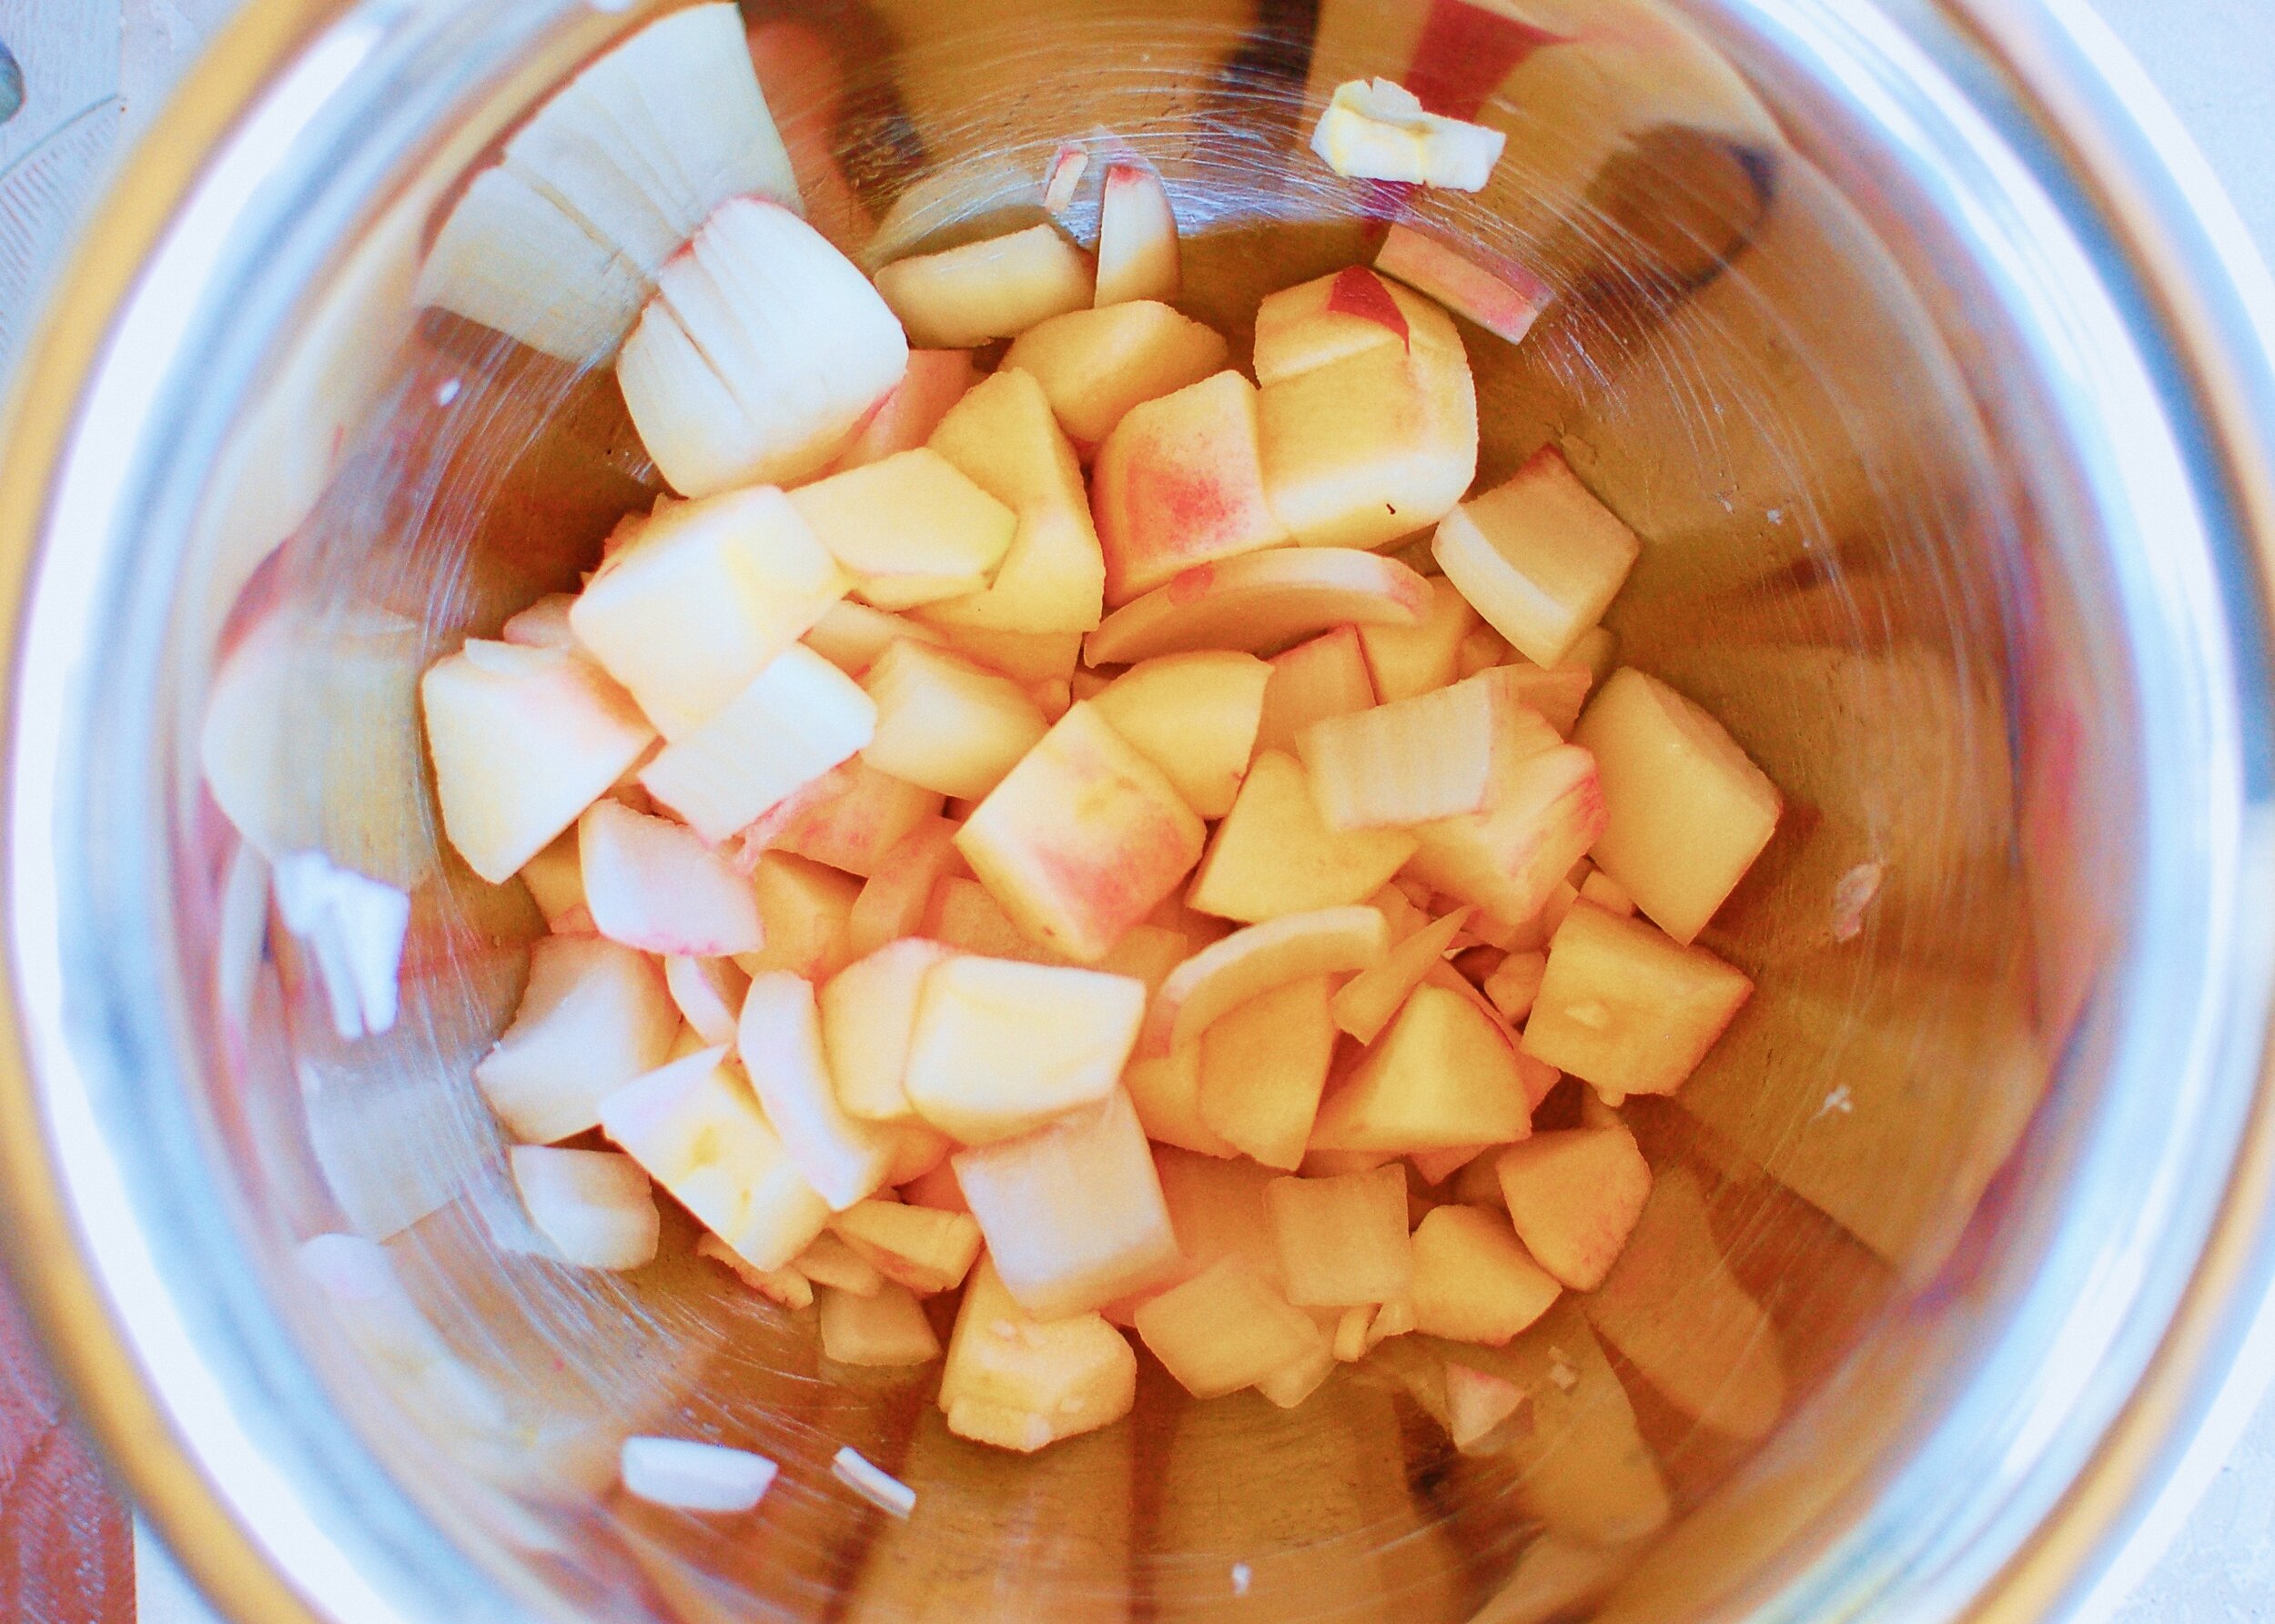
1 apple, peeled and cubed
1 small onion (white or red), diced
2 - 3 cloves of garlic, diced
1 - 2 tbsp fresh mint
juice from 1 lemon
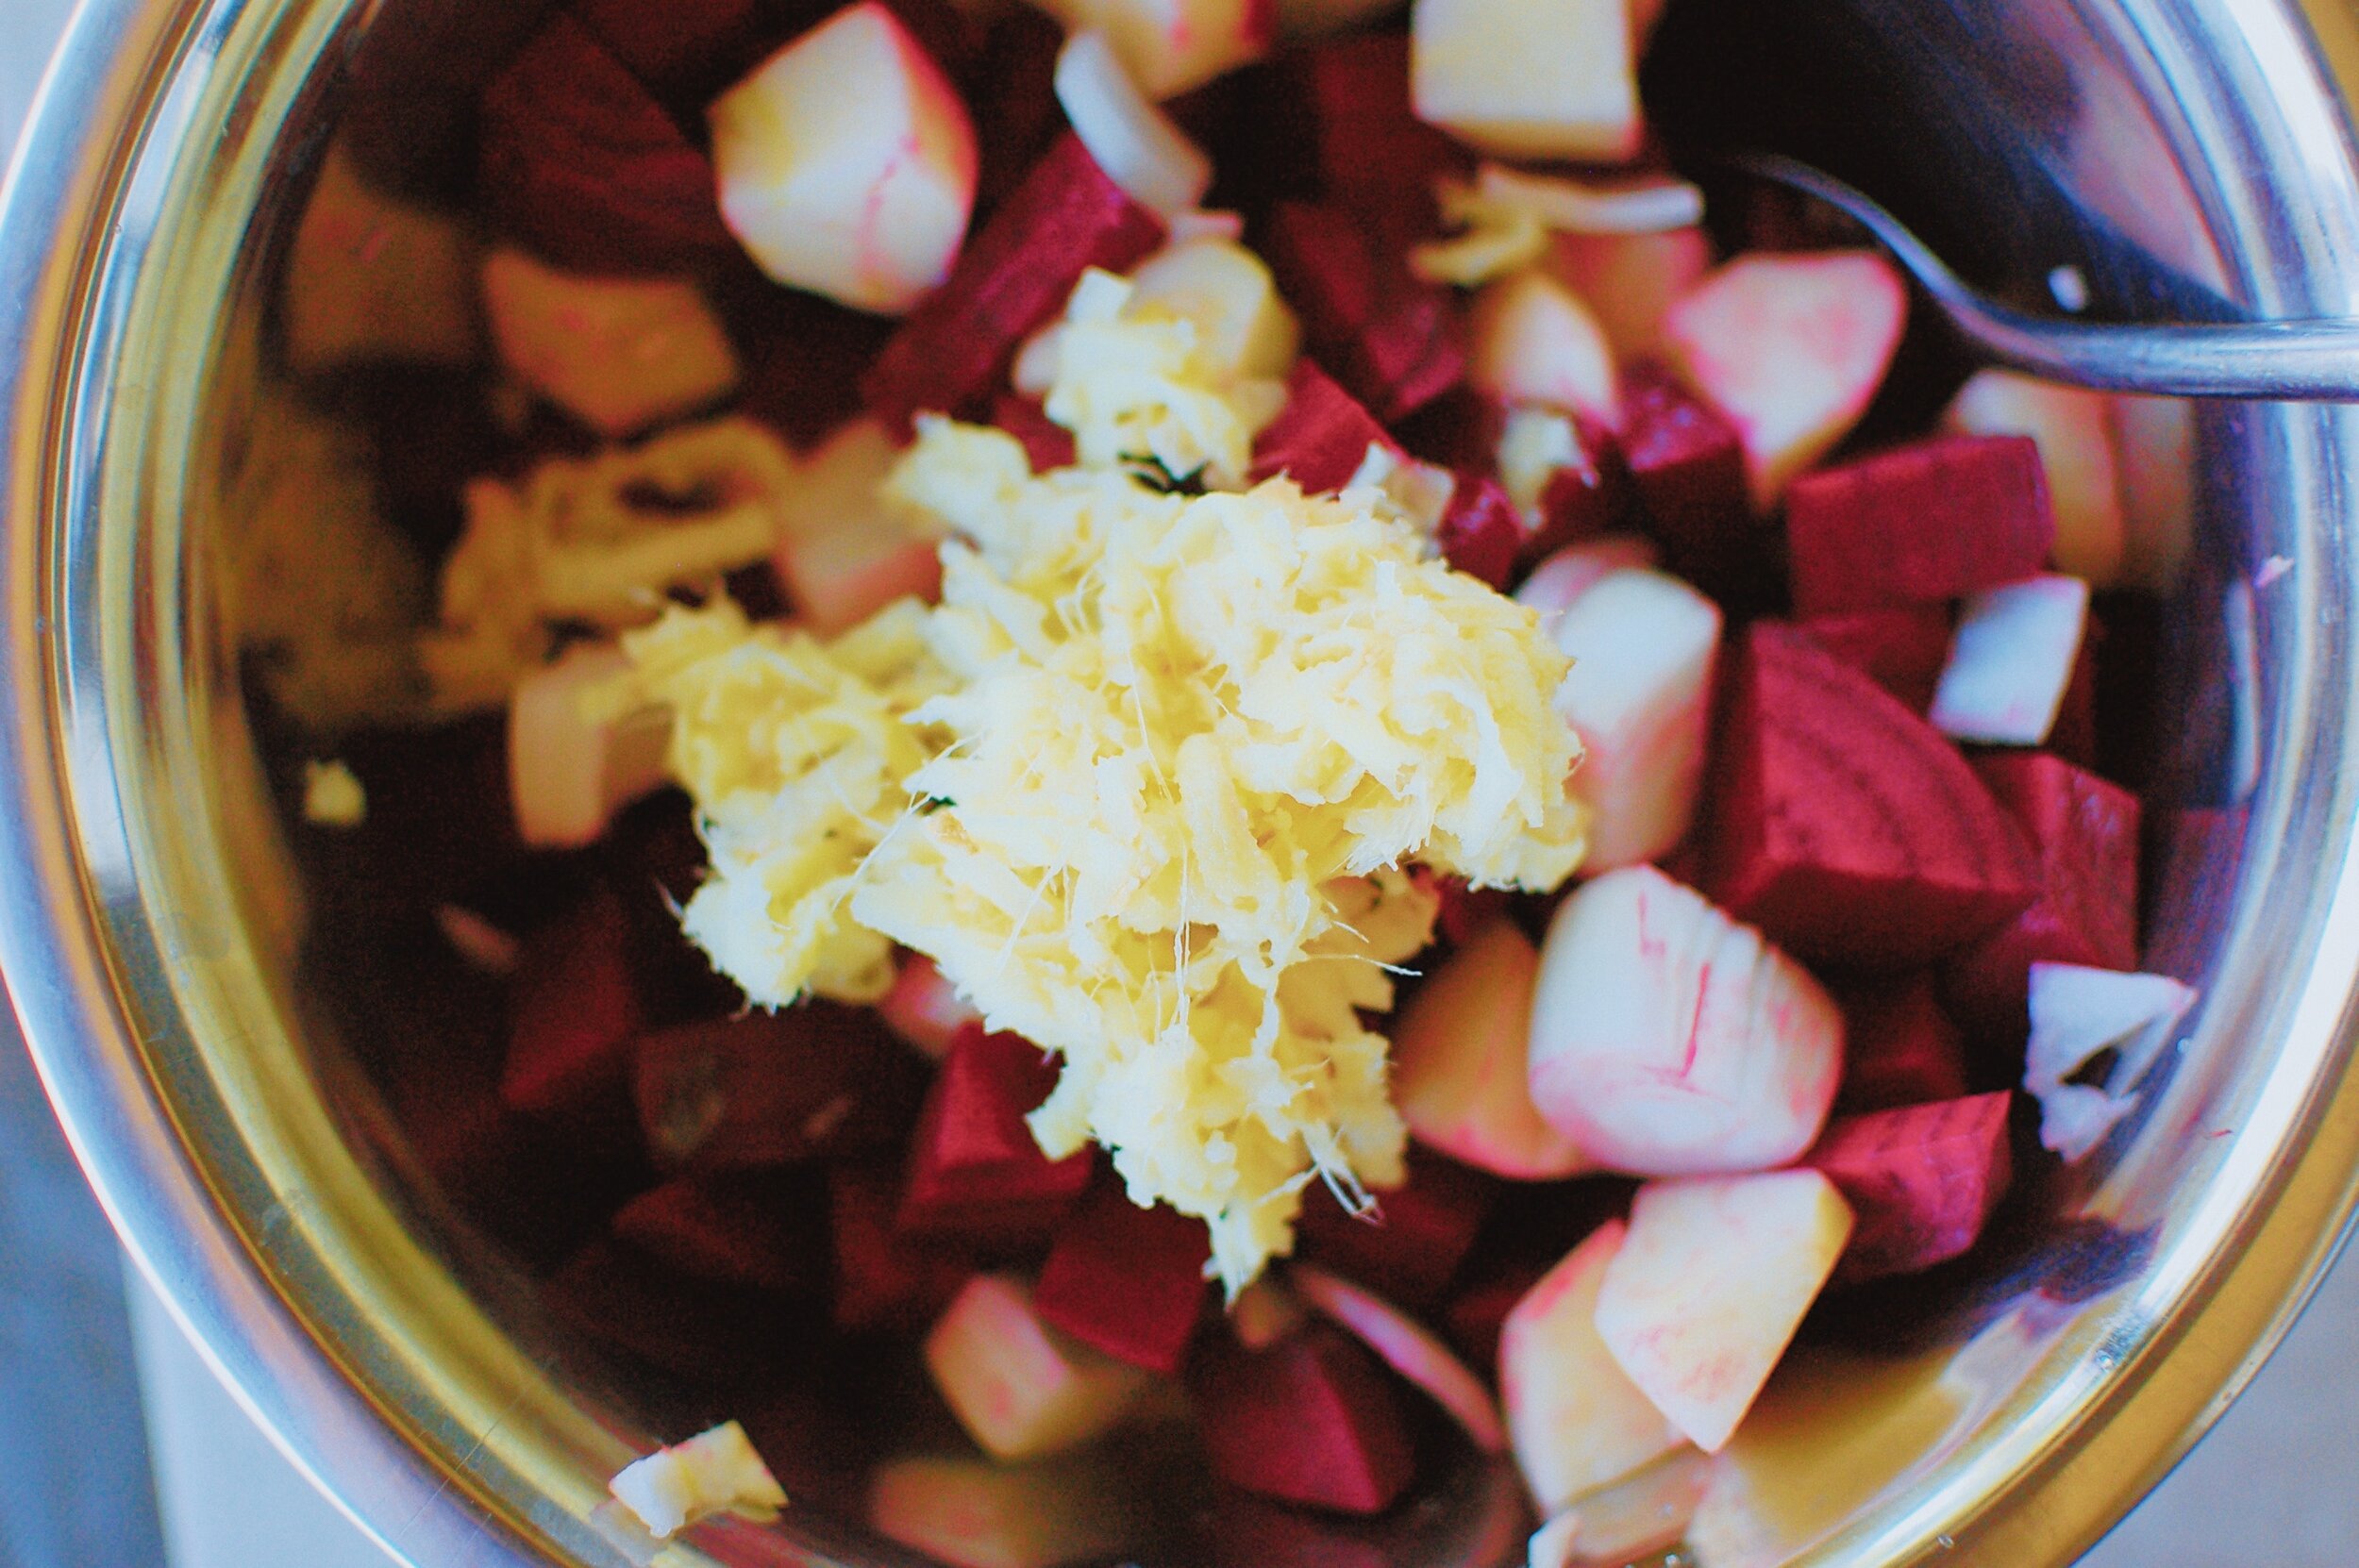
1/4 cup ginger bug (you can omit this and add 1 tbsp shredded ginger instead!)
2 tbsp pure maple syrup (this provides food for the ginger bug and lends a beautiful flavour! It is, however, completely optional)
2 tsp salt
1-2 cups filtered water
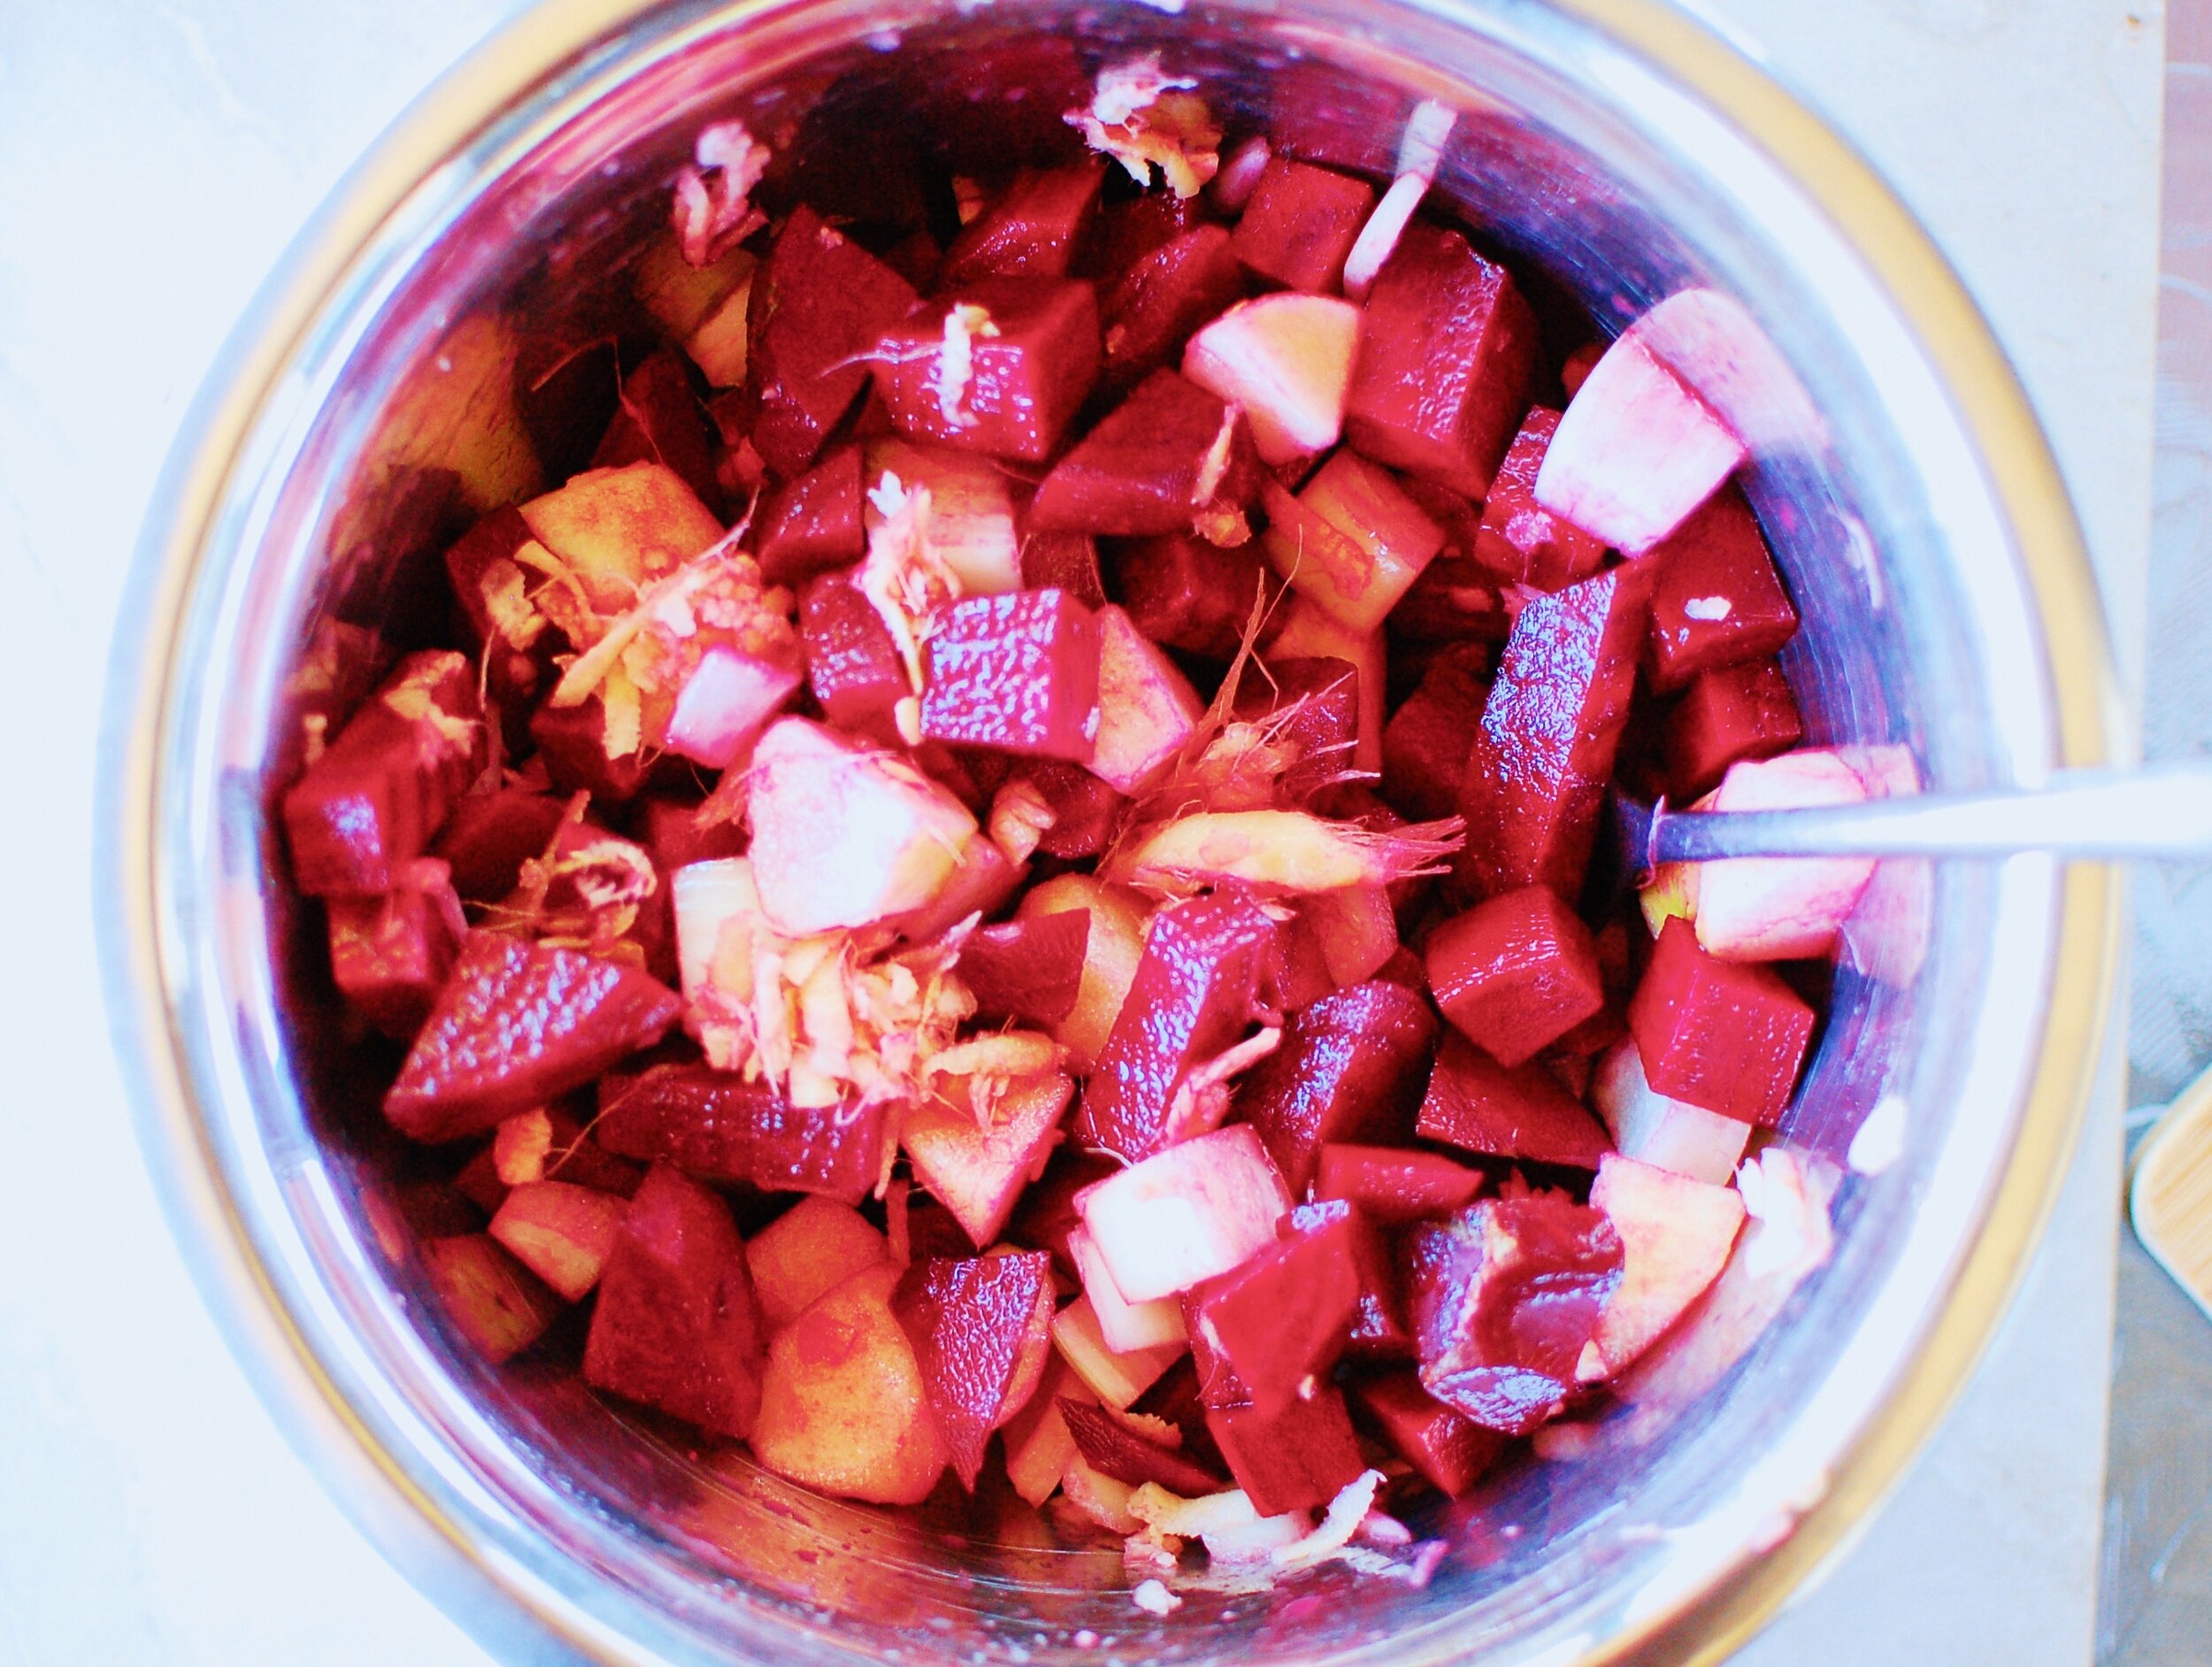
In a medium mixing bowl, combine diced beets, apples, onion and garlic.
Stir in salt, lemon juice, maple syrup and the ginger bug. Use mostly solids from your bug.
Toss in whichever herbs you prefer. I’ve gone with a few mint leaves, but you can go with basil, chives, thyme, rosemary - anything!
This should fit perfectly into a 1L jar. Go ahead and squeeze it in.
Fill your jar with filtered water, ensuring that everything is submerged.
Allow this to ferment at room temperature for 4 - 5 days, opening your jar once or twice per day to release CO2.
Ferment your Beets
Fermenting beets can be a little bit dramatic. Especially in the summer months, when beets are freshly harvested and full of sugar and the weather is warm - a truly wonderful combination for a successful (yet eventful!) fermentation. Here’s what to expect:
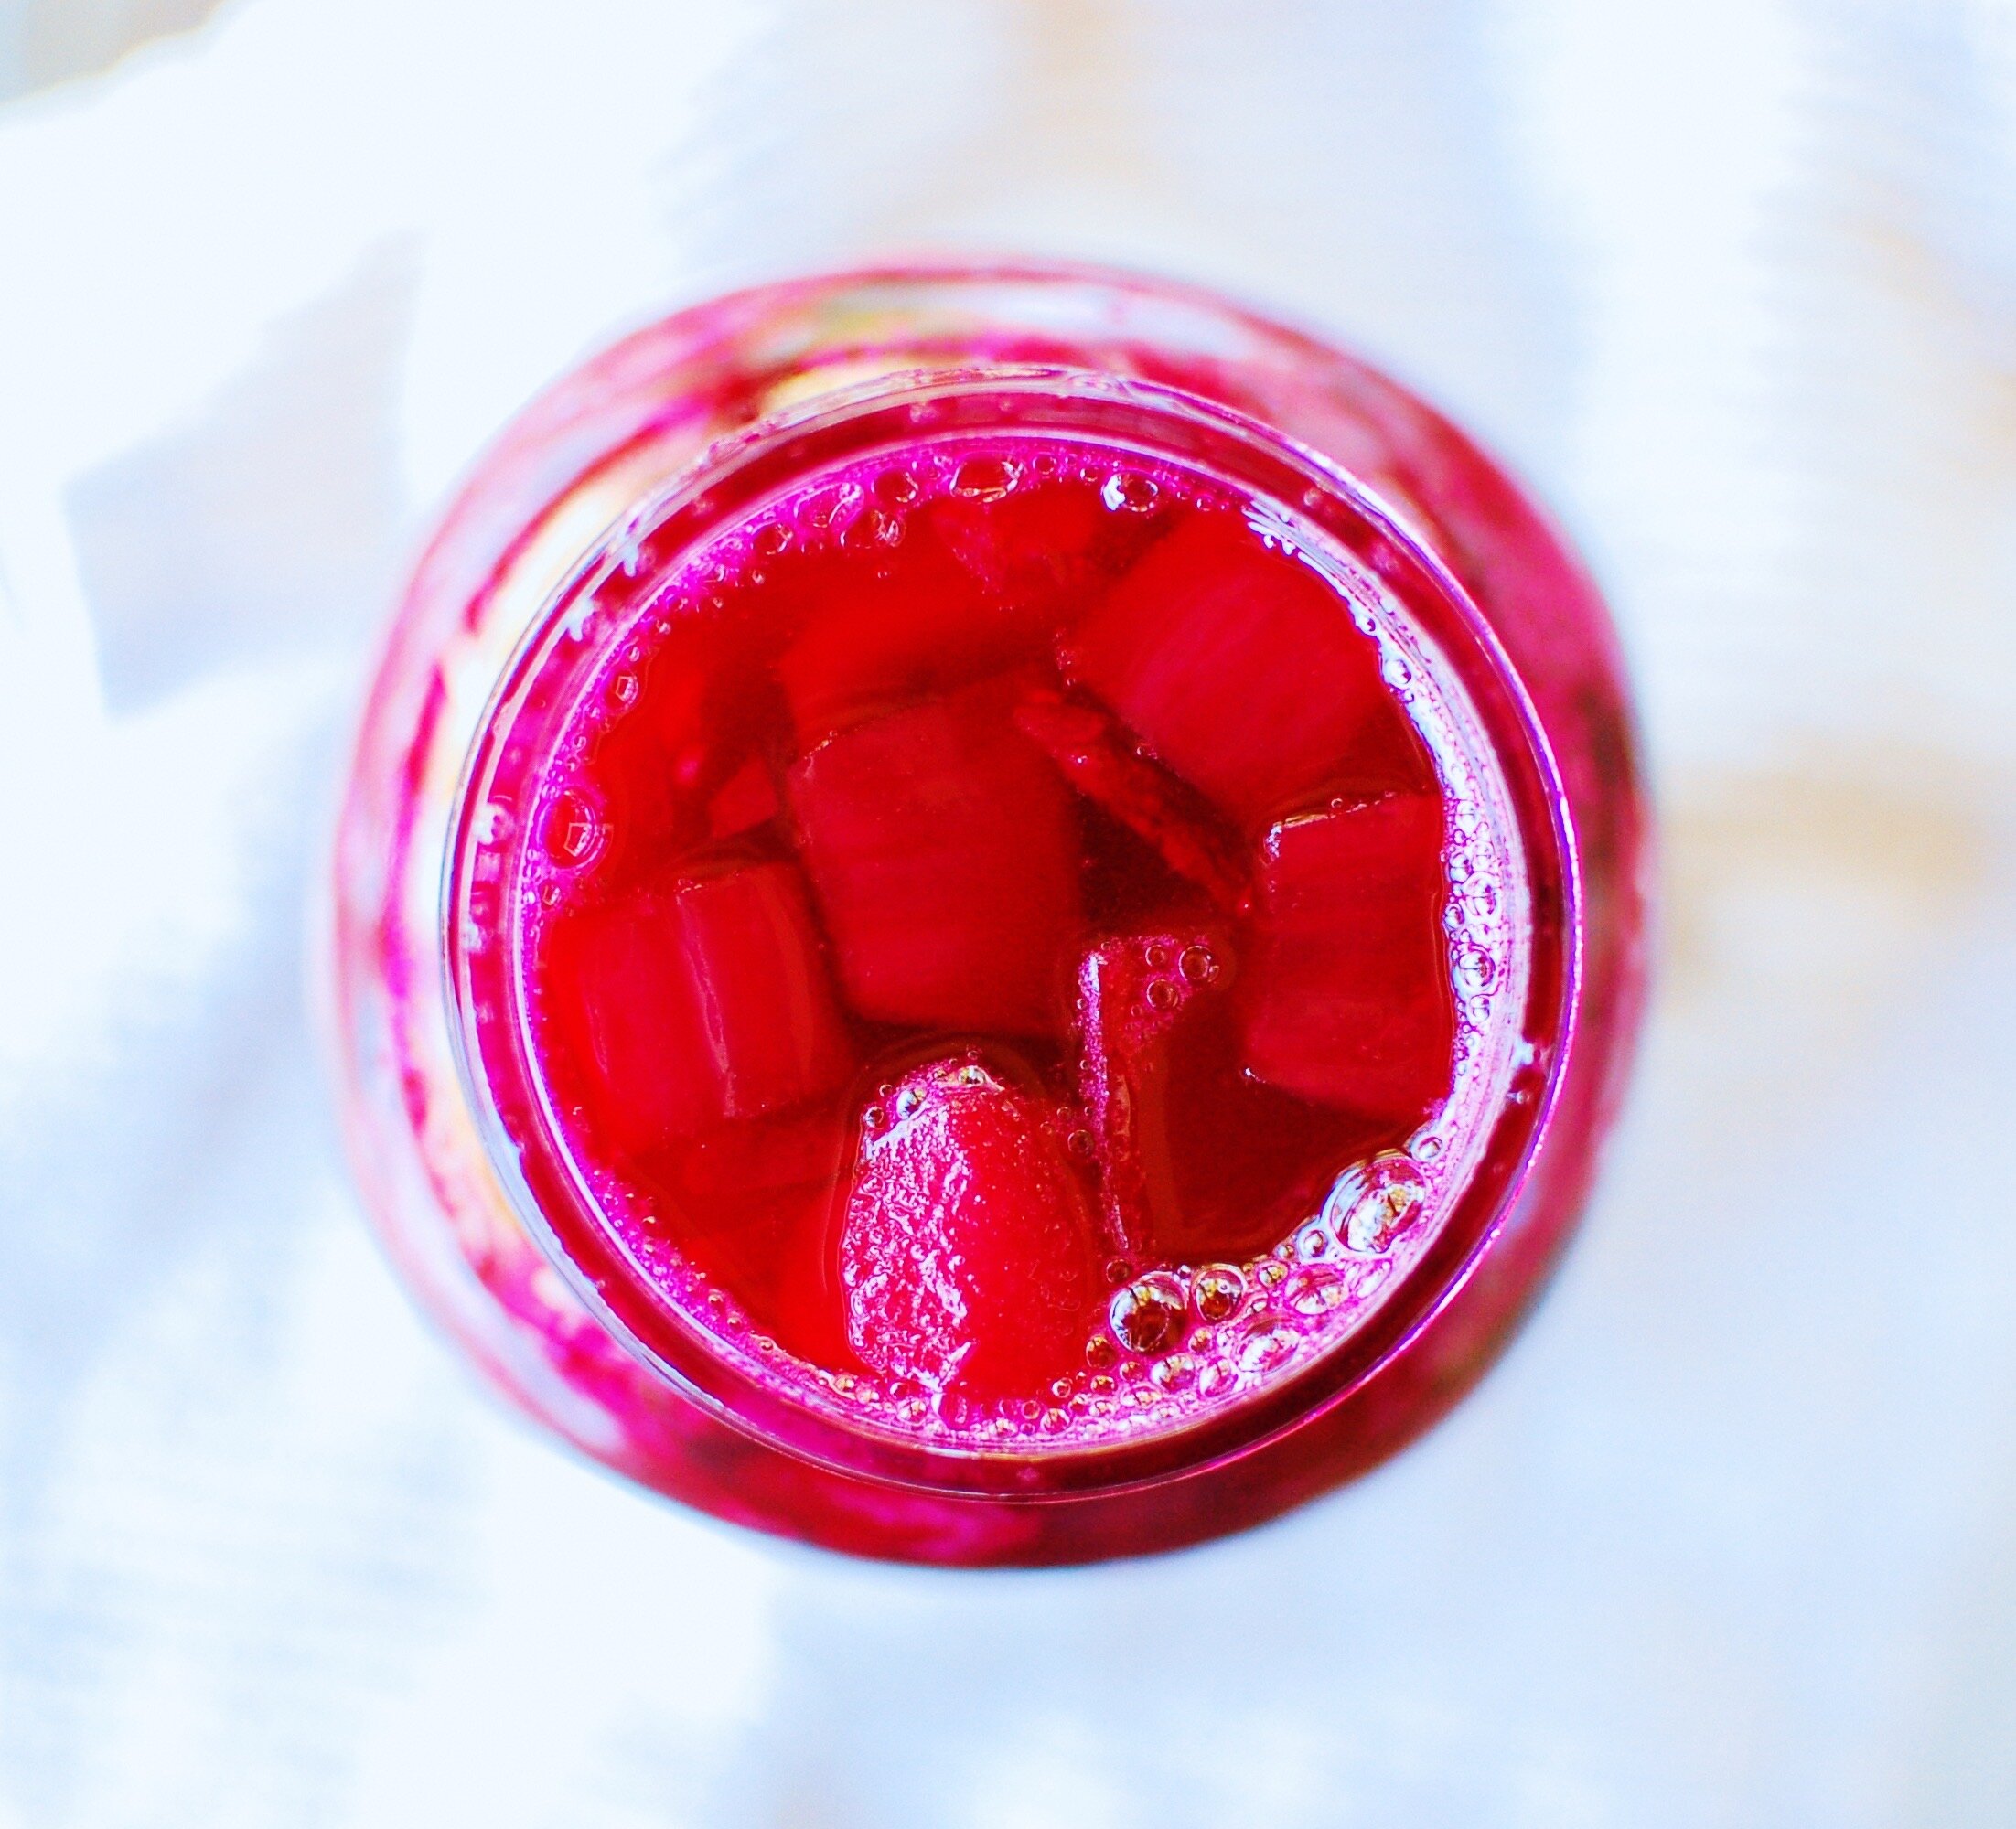
On day 2, nothing much will be happening. No drama, barely any bubbles, no hiss upon opening your jar. Smell it, it should smell good, like beets & herbs and garlic & onions.
Beets, fermentation Day 2.
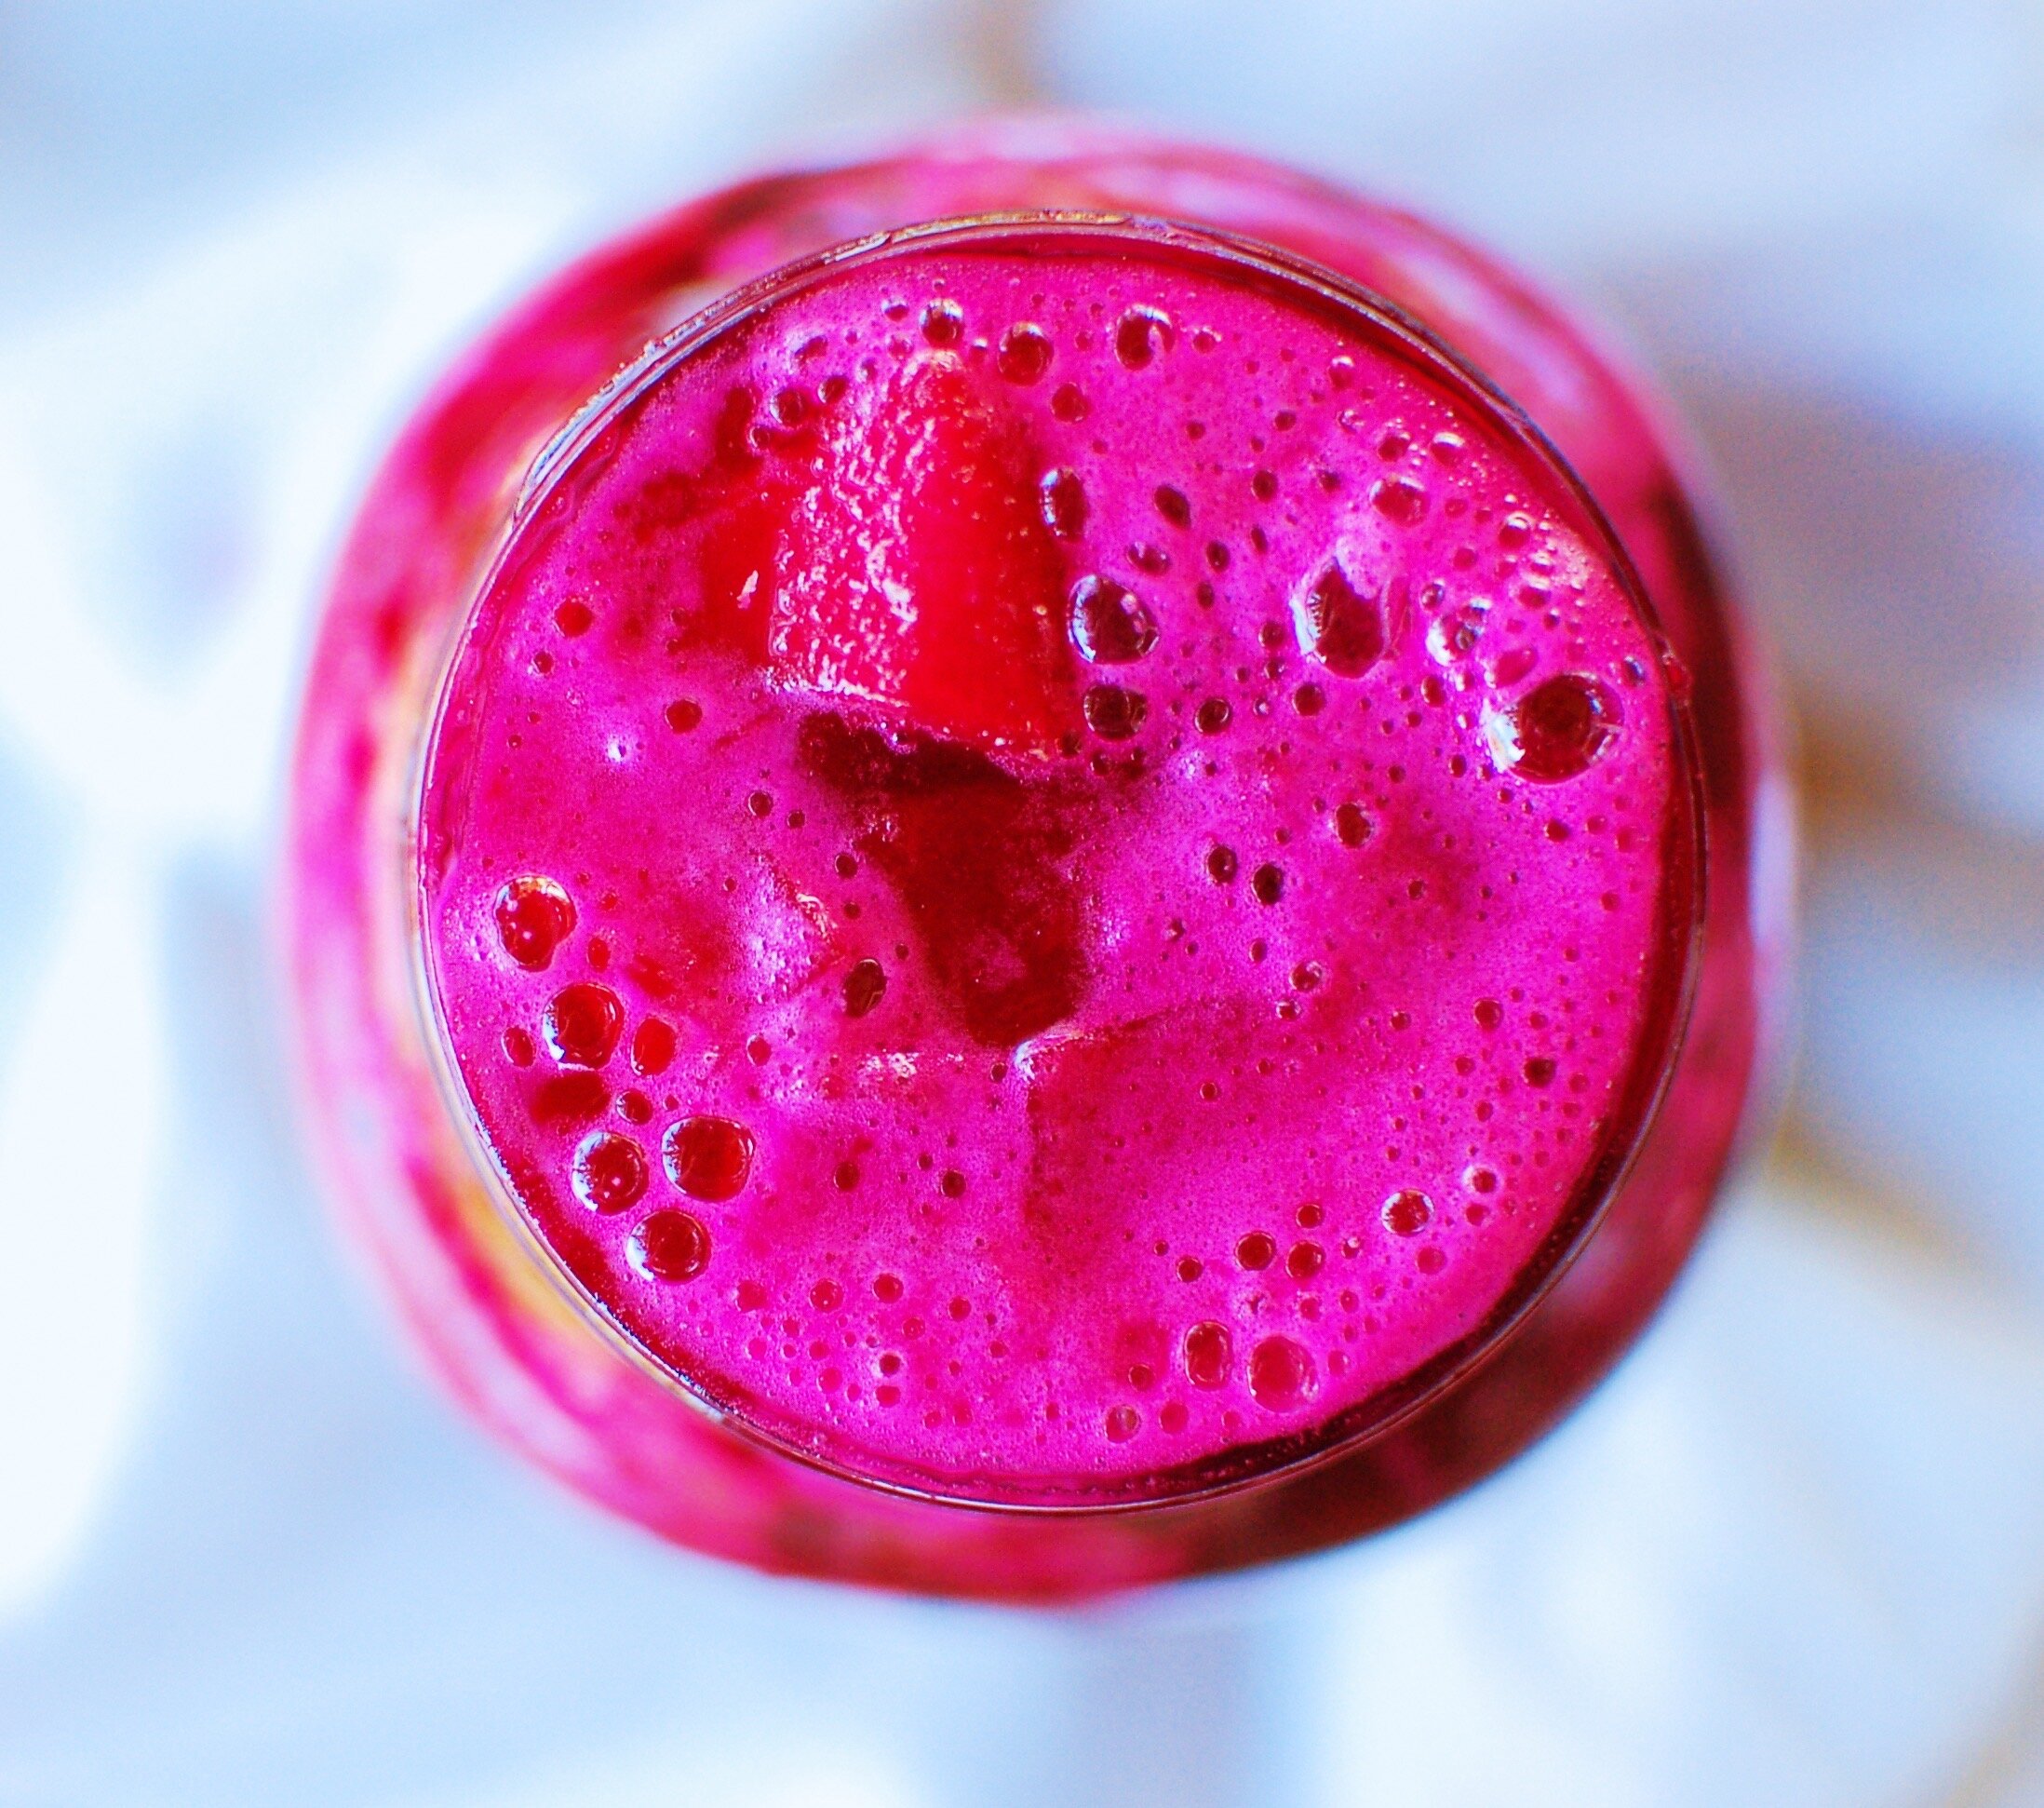
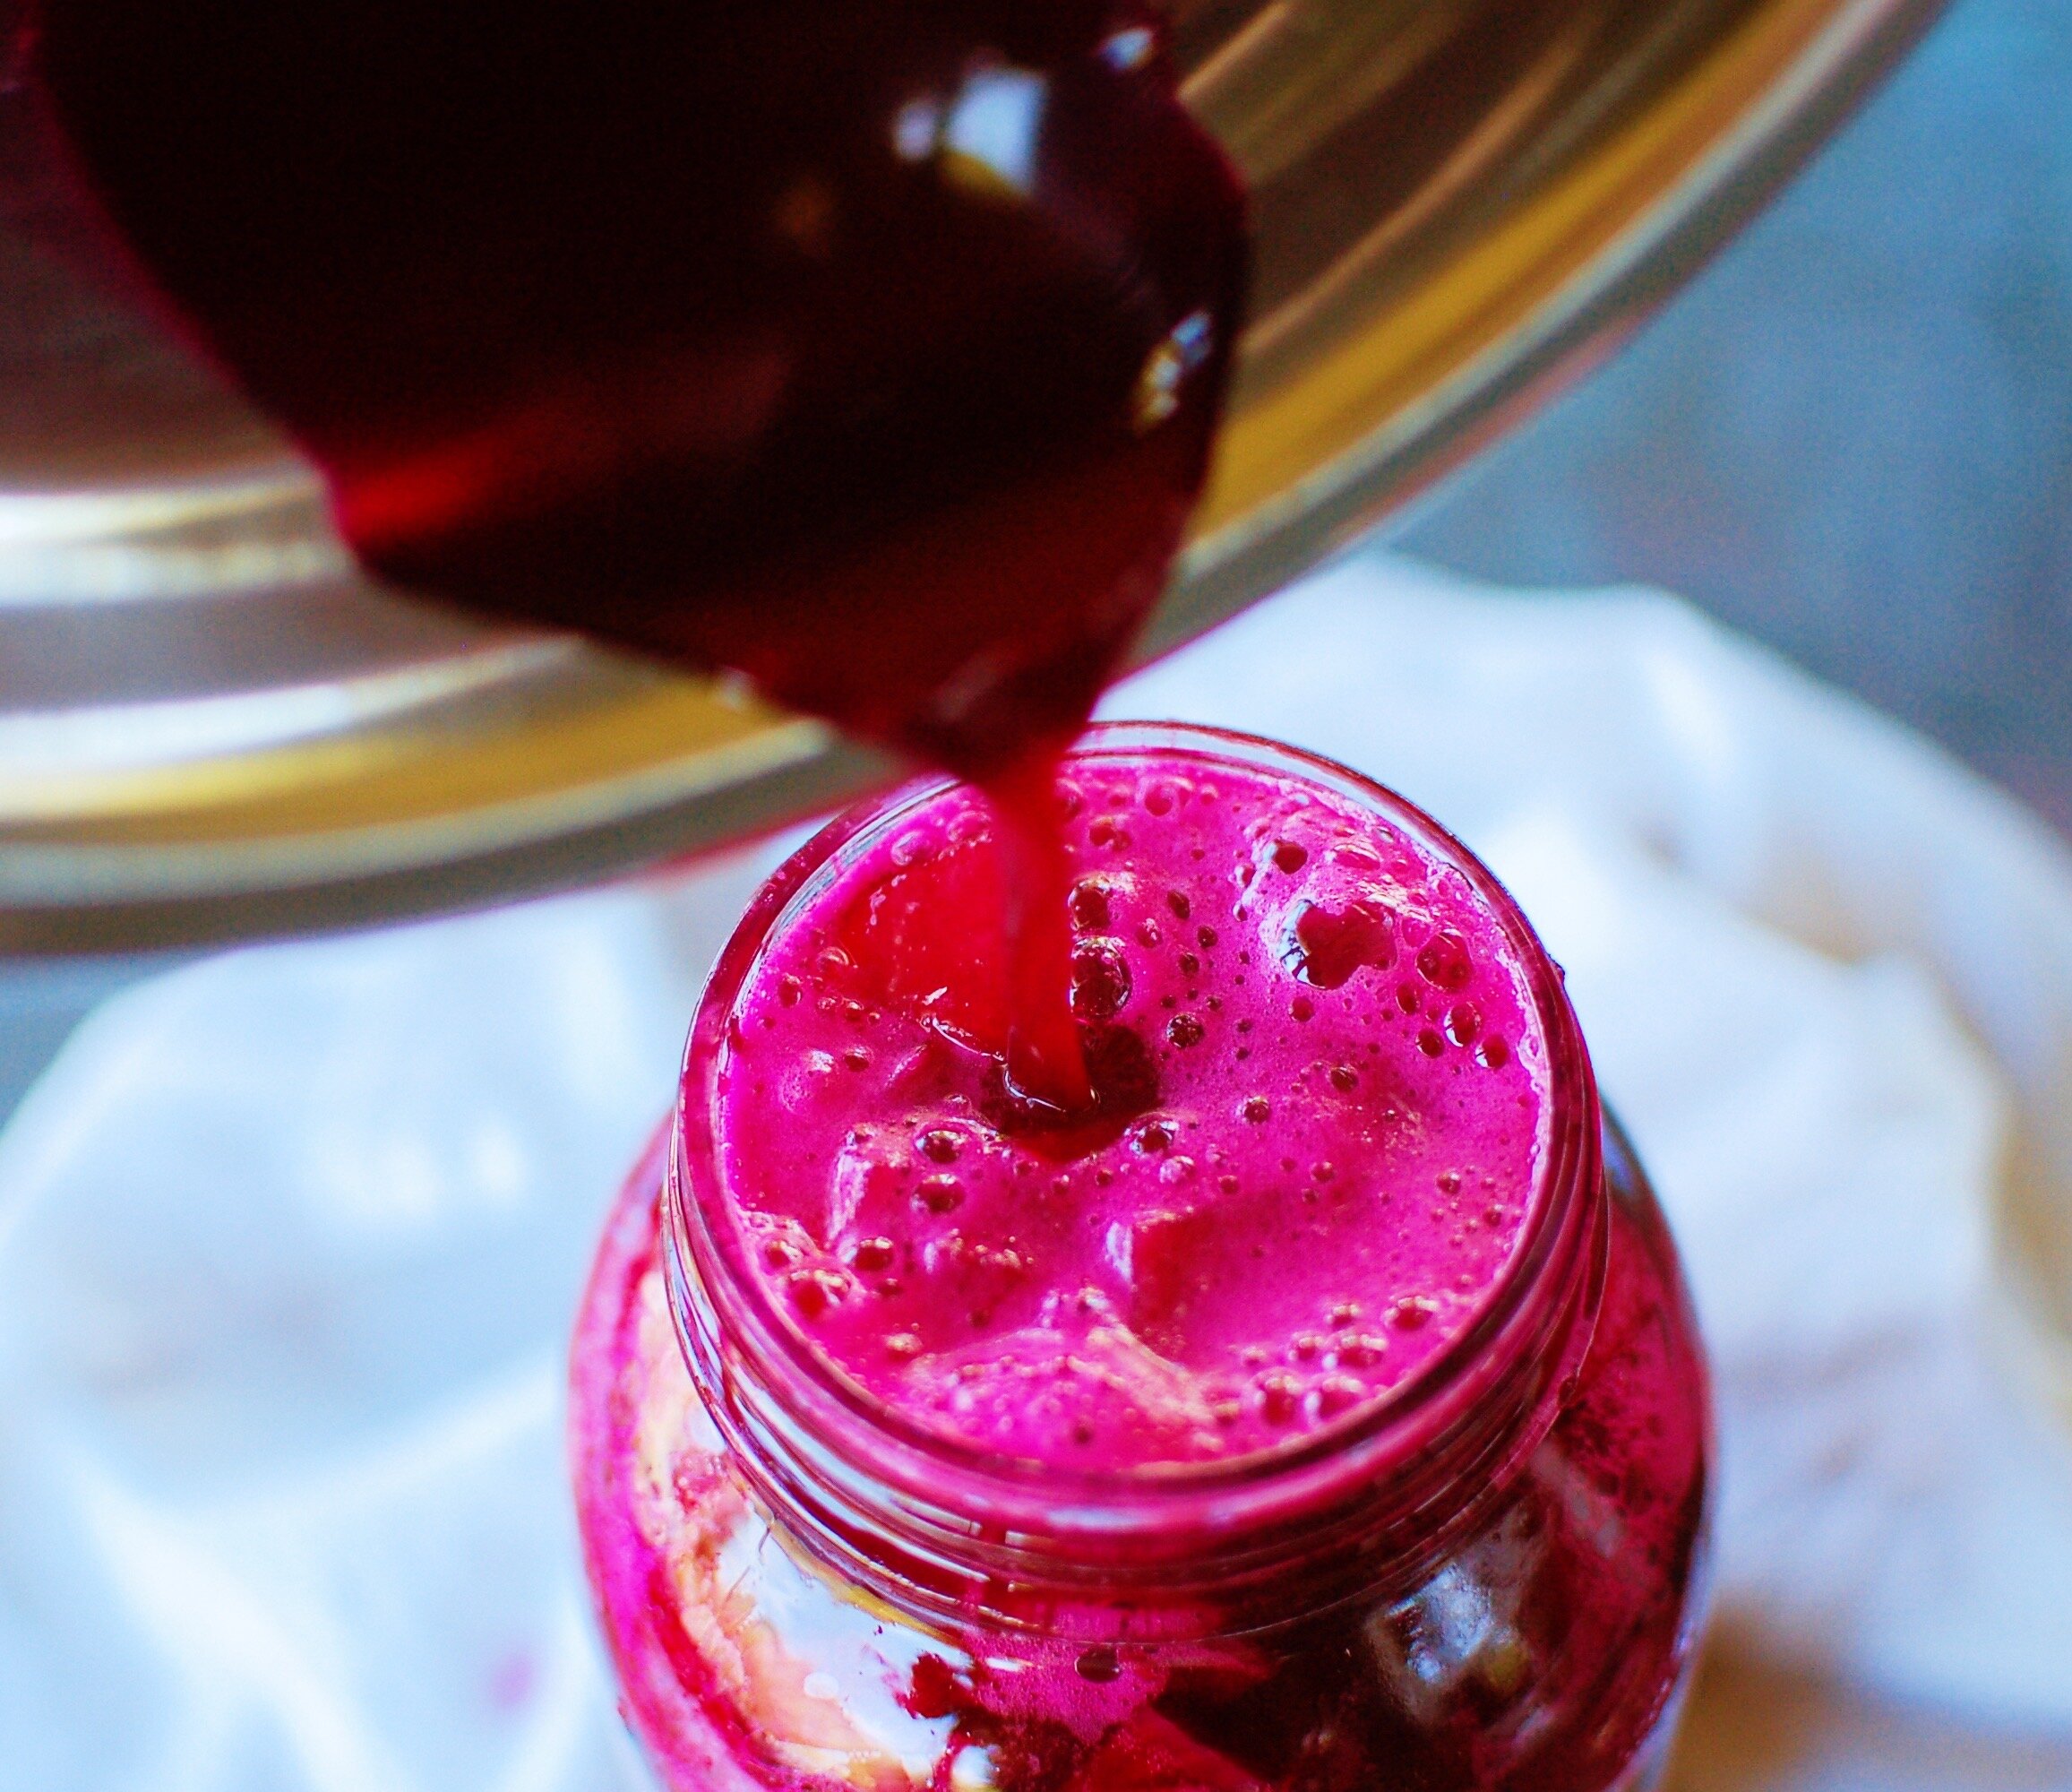
On day 3, things will start to get moving. Get a mixing bowl and place it under your jar as you open it - slowly. It might bubble up and you don’t want to lose any precious brine! Pour any spillover back into your jar.
Beets, fermentation day 3
On day 4 there will definitely be spillover, so be prepared! Get an apron and use that mixing bowl. Open your jar slowly, almost pausing with each new hiss. Once open, wait patiently as the very active brine settles back down and pour as much of it as you can back into your jar. If you’ve got some left over that just won’t fit, don’t sweat it; you can set it aside in a small, covered mason jar for later use. Sometimes I find that it can take an hour or so for the brine to truly settle, revealing a small cm or two of air at the top of the jar.
And suddenly, just like that, on day 5 or 6, everything will settle right down. You’ll open your jar, preparing for a colossal explosion of ruby red brine, and all will be quiet. This is usually when we have our workshop folks call us in a panic, “something went wrong! It’s not bubbling anymore!”. It is, in fact, exactly right! The species of bacteria reining supreme have simply shifted - the CO2 causing all that drama in the early days has caused the PH of your jar to lower, increasing the acidity and providing a beautiful environment for different kinds of bacteria to develop - and so things settle down.
You can choose to keep fermenting for another day or two here - and I always do for sauerkraut, pickles, salsa & hot sauce - but beets just don’t do it for me past day 5ish. They become too sour, but not in a good way. I like them to maintain some crunch, too, and they do at this stage. If you’re like me, place the lid back on, feel really proud of yourself, and refrigerate your beets.
Your fermented beets will keep for several months in the fridge. Enjoy them over greens, pasta salad, protein, tacos - the list is ever-so endless!


